- 1. Understanding Infrared Saunas
- 2. What to Look for in Infrared Panels
- 3. Types of Infrared Panels
- 4. Where to Buy
- 5. Step-by-Step Guide to Installing Infrared Panels
- 5.1. Step 1: Positioning the Panels
- 5.2. Step 2: Securing the Panels
- 5.3. Step 3: Wiring it Up
- 5.4. Step 4: Testing the Setup
- 6. Using and Maintaining Your Infrared Sauna
- 7. Relax and Go Infrared
- 8. FAQs
- 8.1. Do I need any special permits to build an infrared sauna?
- 8.2. Is infrared safe?
- 8.3. How much does a DIY infrared sauna cost?
- 8.4. How long does it take to build a DIY infrared sauna?
- 8.5. What's the benefit of infrared over a traditional sauna?

How to Build a DIY Infrared Sauna
Table of Contents [Show]
In a previous article, we walked you through the process of building DIY outdoor sauna in your backyard. Now, imagine taking this serene experience a notch higher by incorporating the advanced technology of infrared heating.
Infrared saunas function differently than traditional saunas, offering a unique set of health benefits. Instead of heating the air around you, they use infrared panels that emit light, directly warming your body. This approach provides a more efficient, comfortable and health-boosting sauna experience. Whether you're a DIY enthusiast or a novice, this step-by-step guide will help you navigate this process with ease. It’s time to explore the transformative world of infrared saunas.
Understanding Infrared Saunas
Infrared saunas harness the power of infrared light waves, a form of heat that our bodies naturally emit and absorb. Unlike traditional saunas, which heat the air to increase the room temperature, infrared saunas directly heat your body. This direct heat penetration provides a more efficient sweat session, which can be experienced at a lower, more comfortable temperature than traditional saunas.
There are numerous health benefits associated with infrared saunas. Let's take a look at some of the key advantages:
- Detoxification: Sweating is a natural way for the body to eliminate toxins. Infrared saunas can stimulate more intense sweating, thereby enhancing the detoxification process.
- Improved Circulation: Infrared heat can boost blood flow, similar to the effects of moderate exercise. This improved circulation supports heart health, speeds up muscle recovery and enhances overall wellbeing.
- Skin Health: Regular infrared sauna sessions can contribute to a clearer, healthier complexion by purging the pores of impurities and improving skin elasticity.
- Relief from Muscle and Joint Pain: The heat from infrared saunas can help relax muscles and alleviate joint pain, making it beneficial for those with chronic pain conditions or sports injuries.
- Stress and Fatigue Reduction: Just like traditional saunas, the soothing warmth of an infrared sauna can help reduce stress and fatigue, promoting relaxation and better sleep.
- Weight Loss and Metabolic Boost: While not a replacement for a balanced diet and regular exercise, the increased heart rate induced by the infrared heat can aid in calorie burn and metabolism enhancement.
Remember, as beneficial as infrared saunas can be, it's important to consult with your healthcare provider before starting any new wellness regimen.

What to Look for in Infrared Panels
When it comes to picking infrared panels for your sauna, several essential elements come into play. Foremost among these is the quality of the panels. Top-tier panels will ensure even and consistent heating, thereby enhancing your sauna sessions. It's crucial to opt for panels specifically engineered to endure the high temperatures and humid conditions characteristic of a sauna setting.
Additionally, the dimensions and form of the panels should be on your radar. They need to integrate seamlessly into your outdoor sauna's structure, offering a snug fit. The quantity of panels required will hinge on the size of your sauna.
Here are a few key things to keep in mind when you're trying to figure out if an infrared sauna panel is up to snuff:
- Materials: High-quality infrared panels are typically made from materials that can effectively and safely generate infrared heat. This often includes ceramic or carbon fiber. Ceramic heaters are known for their intense heat output and durability, while carbon fiber heaters provide even heat distribution across a large surface area.
- Heat Distribution: A mark of a high-quality infrared panel is its ability to distribute heat evenly. Look for panels that guarantee uniform heat distribution for a comfortable and consistent sauna experience.
- Energy Efficiency: Efficient infrared panels will heat up quickly and maintain a steady temperature using minimal energy. This not only contributes to a better sauna experience but can also result in lower electricity bills.
- Safety Features: Top-quality panels are designed with safety in mind. This can include features like a heat sensor to prevent overheating, and being UL (Underwriters Laboratories) listed or having similar certifications, which means the product has been tested and meets certain safety standards.
- Longevity: You're going to want panels that can take a bit of heat. The best ones can handle lots of use and the sauna's high temps without wearing out or falling apart.
- Guarantee: Don't overlook a solid warranty either. When a company's willing to back up their product with a good guarantee, it's usually because they're pretty sure it'll go the distance.
These factors should guide you in choosing high-quality infrared panels that will provide an optimal sauna experience and stand the test of time.

Types of Infrared Panels
Another critical aspect to consider is the type of infrared panel. There are three types: near, middle and far infrared. Each type penetrates the body to a different depth and may provide slightly different health benefits. Far infrared panels are the most commonly used in infrared saunas due to their deep penetration and overall health benefits.
Where to Buy
There are many online retailers specializing in sauna equipment that offer a wide range of infrared panels. Be sure to research customer reviews and the reputation of the company before making a purchase. Some well-known brands include Clearlight Saunas, Sunlighten, and JNH Lifestyles, all of which offer high-quality infrared panels designed specifically for saunas.
These factors should guide you in choosing high-quality infrared panels that will provide an optimal sauna experience and stand the test of time.
Step-by-Step Guide to Installing Infrared Panels
Before you dive into the installation, make sure you've got all your tools at the ready. You’ll likely need a screwdriver, a drill, some wire strippers, electrical tape and a voltage tester. Remember, when dealing with electrical setups, safety always comes first. If tinkering with wires and voltages isn't your cup of tea, it might be a good idea to call in a pro.
Step 1: Positioning the Panels
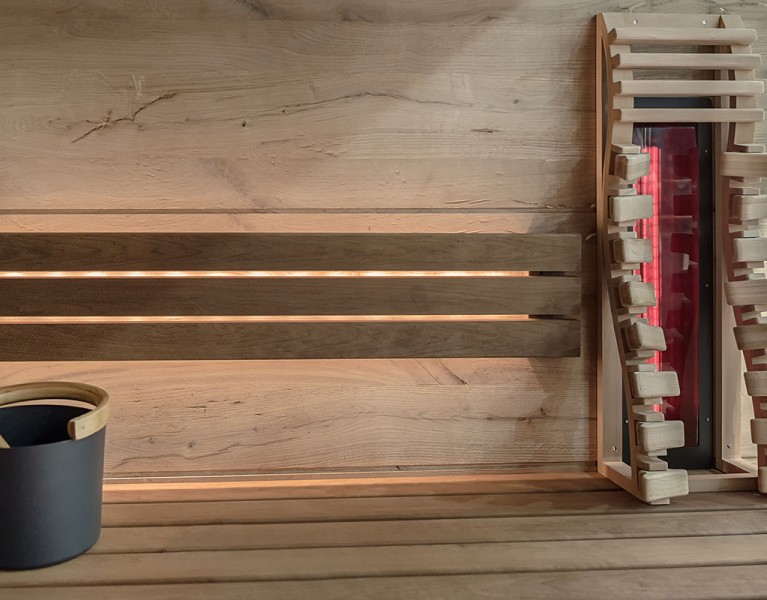
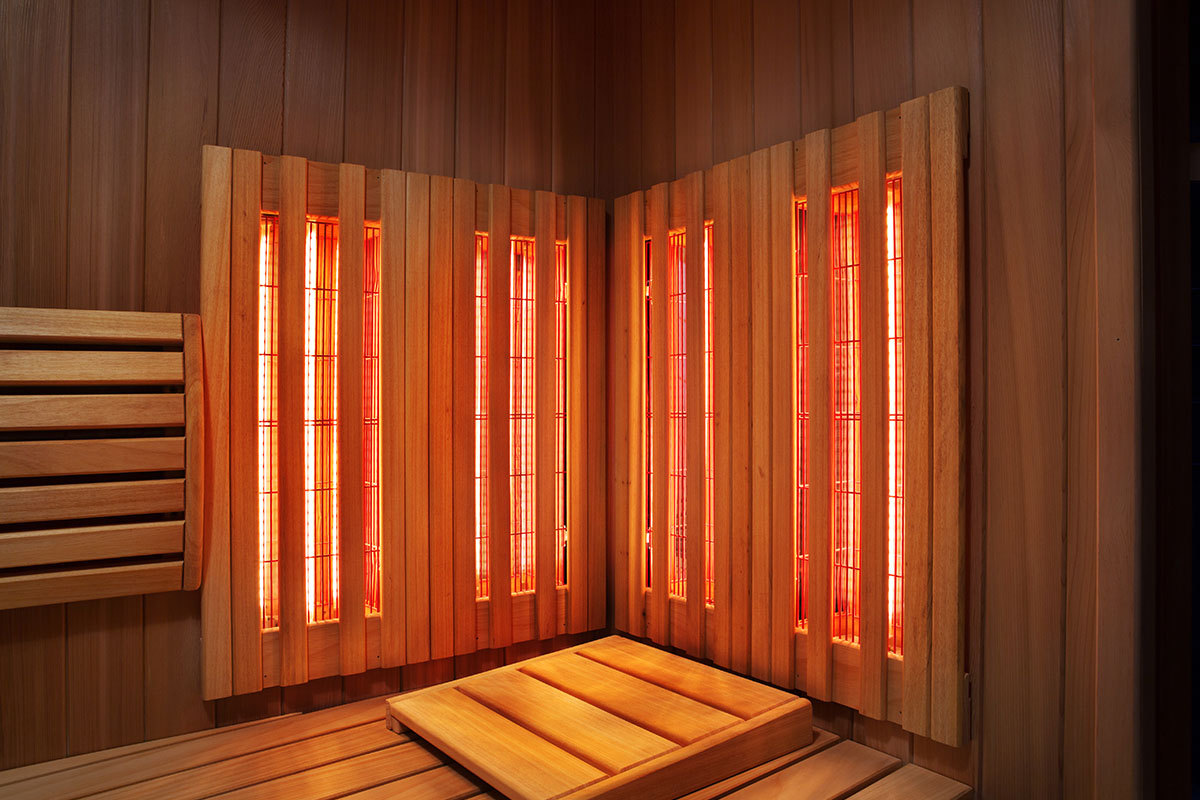
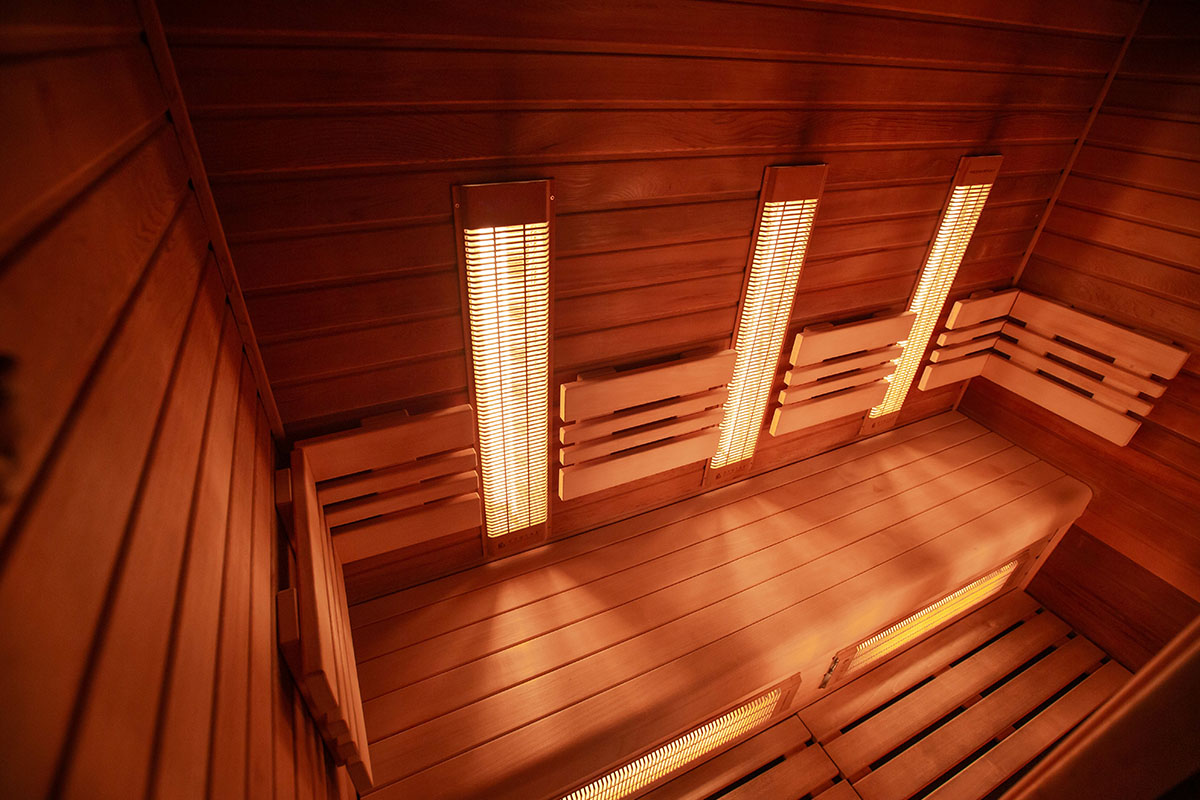
Decide where you want to install the panels within your sauna. Keep in mind that the panels should be evenly distributed to allow for uniform heating. Most people choose to install them on the walls of the sauna, but the ceiling can also be a good spot for additional heat.
Step 2: Securing the Panels
Once you have decided on the positions, use a screwdriver or drill to secure the panels onto the sauna walls or ceiling. Follow the manufacturer's instructions carefully for this step. Ensure that the panels are firmly attached and won't move or come loose.
Step 3: Wiring it Up
Next on the agenda is linking the panel wires to your power source. Usually, this means you'll need to strip back the ends of the wires, join them up with wire nuts, and then give them a good wrap with electrical tape.
Step 4: Testing the Setup
After everything is installed and connected, it's time to test your new infrared sauna. Turn on the power and let the sauna heat up. Check that all the panels are working and emitting heat evenly. If any panel isn't functioning correctly, make sure all connections are secure and the panel is receiving power.

Using and Maintaining Your Infrared Sauna
Once your infrared sauna is set up and functioning, you can begin to enjoy the myriad of health benefits it offers. However, it's essential to use it safely. Start with shorter sessions of about 15-20 minutes, and gradually increase the time as your body adjusts to the heat. Always hydrate before, during and after your sauna session to replace lost fluids.
Taking care of your infrared sauna isn't too tricky. The infrared panels themselves are built to last and don't need much upkeep. That said, it's critical to keep the sauna tidy, both for hygiene's sake and to extend its life. Once you've finished a session and the sauna's had a chance to cool off, give the inside a quick wipe-down with a soft cloth and a gentle mix of water and natural soap. Steer clear of strong chemicals, as they can harm the wood and other parts.
The outside of your sauna won't need cleaning as often, though this might change based on the weather it's exposed to. If your sauna is outside, you might want to consider using a weather-resistant sealant on the wooden surfaces to shield them from moisture and UV rays.
As for the infrared panels, give them a once-over every so often to check for signs of wear or damage. If you spot a panel that's not heating up, it might be time to swap it out. Always make sure to follow the manufacturer's instructions when it comes to cleaning and maintaining your sauna.
Stick to these pointers, and your infrared sauna will be a safe, relaxing and health-boosting haven for many years to come!

Relax and Go Infrared
Choosing and installing high-quality infrared panels for your sauna might seem a bit overwhelming, but with a bit of planning and a keen eye for detail, it's a DIY project that's totally doable – and incredibly rewarding. An infrared sauna creates a unique kind of heat that's super efficient, plus it can do wonders for your circulation, skin health and stress levels. It might even give your metabolism a little boost.
So, with your new and improved infrared sauna all set up and ready to go, treat yourself to a spa day right in your own backyard. Why not embrace this step towards better relaxation and wellbeing and start enjoying the benefits of your very own infrared sauna? Here's to many relaxing sessions ahead!
Featured image by: fotiy.
FAQs
Do I need any special permits to build an infrared sauna?
Check local building codes and regulations. Permits may be required.
Is infrared safe?
Infrared saunas are generally safe but consult a healthcare professional if you have specific health concerns, as some individuals need to use an infrared sauna with caution.
How much does a DIY infrared sauna cost?
DIY infrared sauna costs vary; expect to spend at least $1.500 for a basic setup and more for higher-quality materials.
How long does it take to build a DIY infrared sauna?
With basic tools you can likely complete it in just a few days, or over a weekend if you have some help.
What's the benefit of infrared over a traditional sauna?
Infrared saunas heat up more quickly, penetrate deeper into the skin, and are more energy-efficient.


