- 1. DIY Boat Livewell
- 1.1. Step-by-Step Instructions:
- 1.2. Tips for Customizing and Maintaining your Boat’s Livewell
- 2. DIY Kayak Livewell
- 2.1. Step-by-Step Instructions:
- 2.2. Tips for Customizing the Livewell for Various Kayak Models
- 3. Benefits of Creating Your DIY Livewell
- 4. Troubleshooting Common Livewell Issues
- 5. Livewell Maintenance and Cleaning
- 6. Livewell Upgrades and Modifications
- 7. Final Thoughts

How To Make A DIY Livewell
Table of Contents [Show]
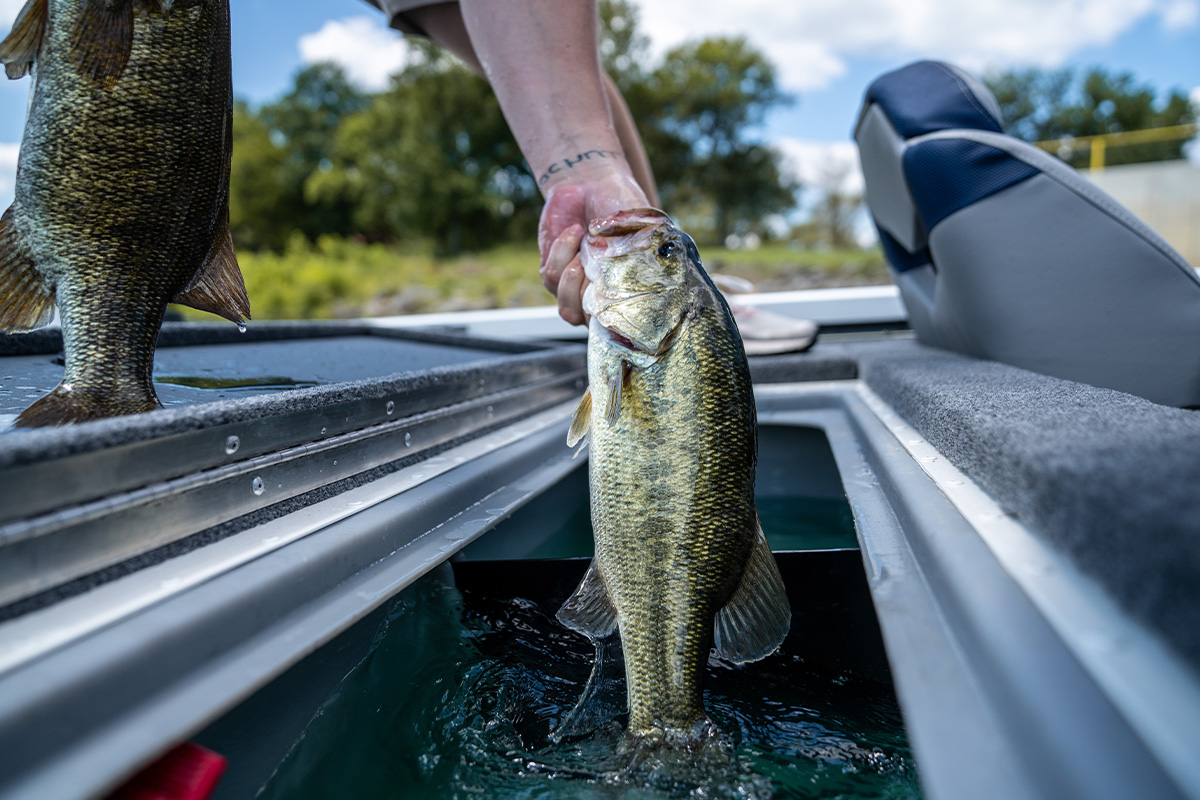
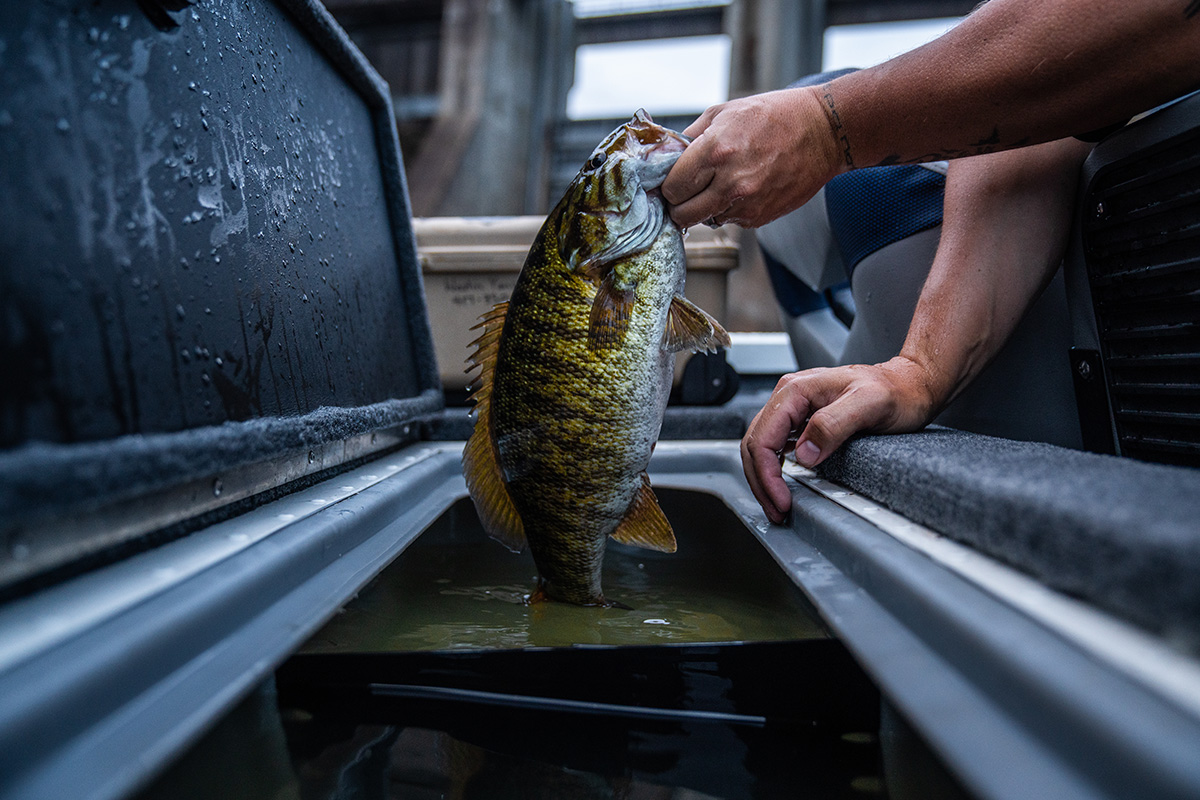
A livewell is an essential piece of equipment for any fishing enthusiast. It keeps your catch healthy and lively until you're ready to head back to shore for a weigh-in and gives them a better chance of survival when released. It’s also a place to keep live bait … well, alive! If you're a crafty angler looking to save some money and add a personal touch to your fishing gear, creating a DIY livewell for your boat or kayak is the perfect project for you.

DIY Boat Livewell
Materials and tools needed:
- Large insulated cooler – an appropriate size for both your boat and the fish you plan on reeling in.
- Aerator pump – the larger the cooler, the bigger the pump you’ll need. A 12-volt pump is the typical choice.
- PVC pipes and connectors
- Overflow drain fitting
- Hoses
- Waterproof sealant
- Hole saw
- Power drill
- Screws
- Cable ties
Step-by-Step Instructions:
- Choose a suitable cooler that fits your boat's available space.
- Use a hole saw to cut holes in the container for the water inlet and overflow drain. Position the inlet hole towards the bottom and the overflow hole near the top.
- Attach the 12-volt pump to the outside of the container using screws and cable ties. Make sure the pump's inlet aligns with the water inlet hole on the container.
- Connect PVC pipes and connectors to create a spray bar inside the container. The spray bar will help aerate the water to keep your catch healthy.
- Install an overflow drain fitting in the top hole to prevent water from spilling out of the container when it's full.
- Connect hoses between the pump, spray bar and overflow drain. Secure the hoses with cable ties to keep everything in place.
- Apply waterproof sealant around the connections to ensure no water leakage.
- Wire the pump to your boat's battery, and your DIY livewell is ready to use!
Tips for Customizing and Maintaining your Boat’s Livewell
- Consider adding a removable divider to separate different fish species or sizes.
- Use a fine mesh net or screen to cover the inlet and outlet holes to prevent fish from escaping or debris from entering the livewell.
- Regularly clean the livewell, pump and hoses to prevent algae buildup and maintain water quality.

DIY Kayak Livewell
Materials and tools needed:
- Insulated cooler or fish bag
- 12-volt aerator pump
- PVC pipes and connectors
- Tubing
- Waterproof sealant
- Hole saw
- Power drill
- Screws
- Cable ties
- Bungee cords
Step-by-Step Instructions:
- Select an insulated cooler or fish bag that fits the available space on your kayak. Ensure it has adequate capacity to hold the fish you plan to catch.
- Drill holes in the cooler or fish bag for the water inlet and overflow drain. Position the inlet hole near the bottom and the overflow hole near the top.
- Mount the 12-volt aerator pump to the exterior of the cooler or fish bag, ensuring the pump's inlet aligns with the water inlet hole.
- Assemble PVC pipes and connectors to create a spray bar inside the cooler or fish bag. The spray bar will help oxygenate the water, keeping your catch healthy.
- Install tubing to connect the aerator pump, spray bar, and overflow drain. Use cable ties to secure the tubing and keep everything in place.
- Apply waterproof sealant around all connections to prevent water leakage.
- Wire the aerator pump to a portable battery or your kayak's battery system.
- Secure the DIY livewell to your kayak using bungee cords or other suitable fasteners.
Tips for Customizing the Livewell for Various Kayak Models
- Choose a cooler or fish bag with a low profile to minimize wind resistance and maintain your kayak's stability.
- Customize the livewell's size and shape to fit your kayak's specific storage areas or compartments.
- Consider adding a removable divider to separate different fish species or sizes.
- Use a fine mesh net or screen to cover the inlet and outlet holes to prevent fish from escaping or debris from entering the livewell.
- Regularly clean and maintain the livewell, pump, and hoses to ensure optimal water quality and prolong the life of your equipment.

Benefits of Creating Your DIY Livewell
Cost savings: Building your own livewell can be a more cost-effective option compared to purchasing a store-bought one. You can save money on materials and labor while still getting a high-quality, functional livewell that suits your needs.
Customization: When you create your DIY livewell, you can tailor it to your specific requirements. You have the freedom to choose the size, shape and features that work best for your boat or kayak. This allows you to design a livewell that caters to your unique fishing preferences and habits.
Sense of accomplishment: There's something satisfying about crafting your own equipment. Completing a DIY livewell project not only results in a useful tool for your fishing adventures, but it also gives you a sense of pride and achievement. Plus, you'll have an interesting story to share with your fellow anglers!
Troubleshooting Common Livewell Issues
Water Leakage: If you notice water leaking from your DIY livewell, check all the connections, including the tubing, PVC pipes and connectors. Ensure that the waterproof sealant has been applied properly and has fully cured. If necessary, reapply the sealant and allow it to dry completely before testing the livewell again.
Pump Failure: If the aerator pump stops working, first verify that the battery or power source is properly connected and functioning. Check the wiring for any loose connections or damage. If the pump still doesn't work, you may need to clean it or replace it with a new one.
Inadequate Aeration: If the water in your livewell isn't getting enough oxygen, examine the spray bar and pump for any clogs or obstructions. Make sure the holes in the spray bar are open and the pump is functioning correctly. You can also consider upgrading to a more powerful pump for better aeration.
Livewell Maintenance and Cleaning
To ensure optimal performance and water quality, it's essential to regularly clean and maintain your DIY livewell. Follow these maintenance tips:
- After each use, drain the livewell and rinse it thoroughly with fresh water.
- Inspect and clean the aerator pump, spray bar and tubing for any debris or buildup.
- Periodically remove and clean the mesh net or screen covering the inlet and outlet holes.
- Check the waterproof sealant around the connections and reapply if necessary.
- Inspect the wiring and connections for any signs of wear or damage and repair as needed.

Livewell Upgrades and Modifications
To further enhance the functionality and convenience of your DIY livewell, consider implementing these upgrades and modifications:
Timer: Install a timer on the aerator pump to automate the aeration process and conserve battery life. You can set the timer to turn the pump on and off at regular intervals.
Battery indicator: Add a battery indicator to your livewell setup to monitor the remaining battery life. This can help you avoid running out of power during your fishing trip.
Water Temperature Gauge: Incorporate a water temperature gauge to keep track of the livewell's water temperature. This can help you maintain ideal conditions for your catch, especially if you're fishing for temperature-sensitive species.
Additional Storage: Customize your livewell by adding compartments or pockets for storing tackle, bait, and other fishing gear. This can help you keep everything organized and easily accessible.
Final Thoughts
Fishing fanatics know the importance of a well-functioning livewell to keep their catch in prime condition. Building a DIY livewell for your boat or kayak is a rewarding project that can save you money, offer customization and give you a sense of accomplishment. With the step-by-step instructions provided in this article, you'll be well on your way to creating your very own DIY livewell. So, gather your materials, follow the steps, and enjoy the benefits of a customized livewell that enhances your fishing experience. Happy crafting and tight lines!


