How to Build an Outdoor Fire Pit
Table of Contents [Show]
One of the more enticing and rewarding DIY projects is building your own outdoor fire pit. A fire pit offers a warm (literally and figuratively) and welcoming environment. Thinking about a fire pit brings to mind making s’mores, singing songs, telling stories, and simply enjoying a cool night outside with family and friends.
When it comes to building your own outdoor fire pit, you don't need many materials to get started, and most designs are budget-friendly. Take a few hours out of your day to create a space that your family and friends will gather around and use for years to come.
Getting Started
The first thing you need to do is to confirm that you can actually build and operate a fire pit where you live. Check your local building codes, and consult with your homeowner’s association for any restrictions. Contact your homeowner’s insurance company to find out if a fire pit will affect your coverage.
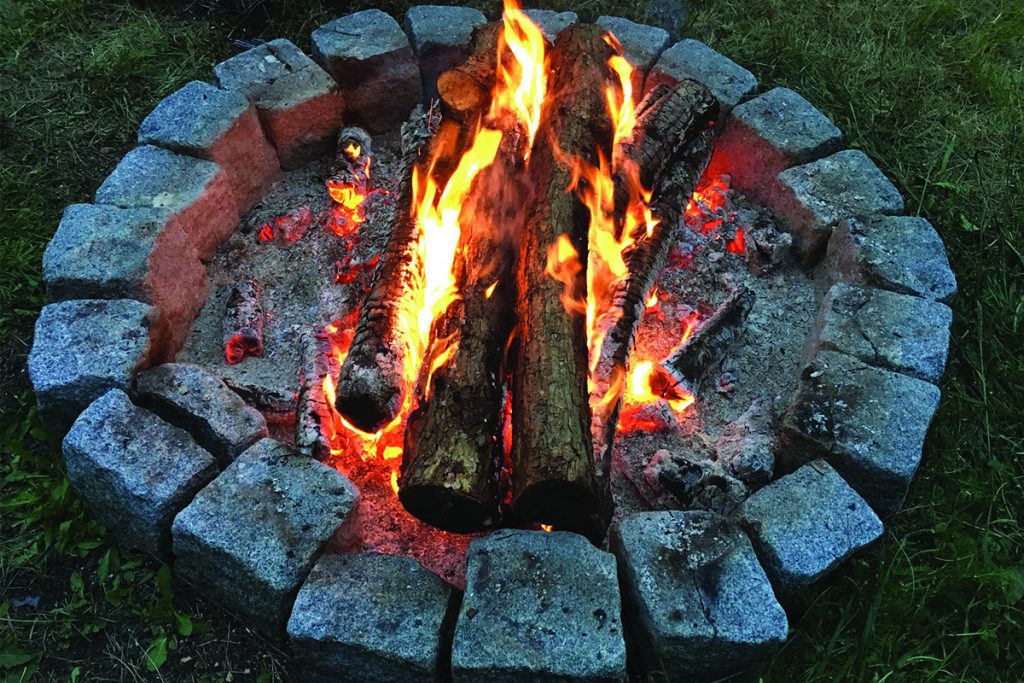
Once you have the logistics taken care of, the next step is to decide location. You need a safe space away from low hanging trees and structures of any sort. Fire pits can be built in many different shapes and sizes, but the DIY design uses a basic circle shape.

Tools and Materials Needed
- Rounded retaining wall blocks
- Sand
- Crushed gravel
- Hand tamper
- Tape measure
- Marking paint
- Work gloves
- Level
- Rubber mallet
- Wheelbarrow
- Construction adhesive or mortar
Measure and Prepare Location
For a circular design, start by inserting a stake at what will be the center of the fire pit. Tie a string around the stake, with the final length of the string measuring close to 3 feet. Next, tie the string to a can of marking paint (when the can/string is extended, the length should equal 2 feet). Slowly spray your circle using the tightened string as a guide. The finished circle should measure about 4 feet across.
Excavate and Add a Base
Now that you have the design laid out, it’s time to dig. Use a shovel to dig around the inside of the circle at a depth of 8-9 inches. If your yard is angled, you may have to adjust and dig deeper to make everything level. Once you've dug the hole, add 4-5 inches of sand to the bottom of the ditch. Use a hand tamper to flatten the sand evenly. This will act as the base for your fire pit. Sand is fireproof and will distribute heat evenly throughout the entire ring.
Apply the First Layer
Lay the first layer of concrete retaining blocks around the edge of the sand so they form a complete circle. Make certain each one is touching, and use a level to ensure they are even. Add or remove sand to help with the process of leveling, and use a rubber mallet to hammer down the blocks into the base.
Add More Layers
Follow the same design as the base blocks with the next few layers, staggering the blocks in a brick pattern (one full block laying over the seam of two blocks underneath it) for strength and stability. To make the ring more solid, add a coat of fire-safe construction adhesive under each layer. Mortar works nicely, too. The only downside is it will be more difficult to disassemble if necessary. The finished ring should consist of at least four layers of block.
Add Finishing Touches
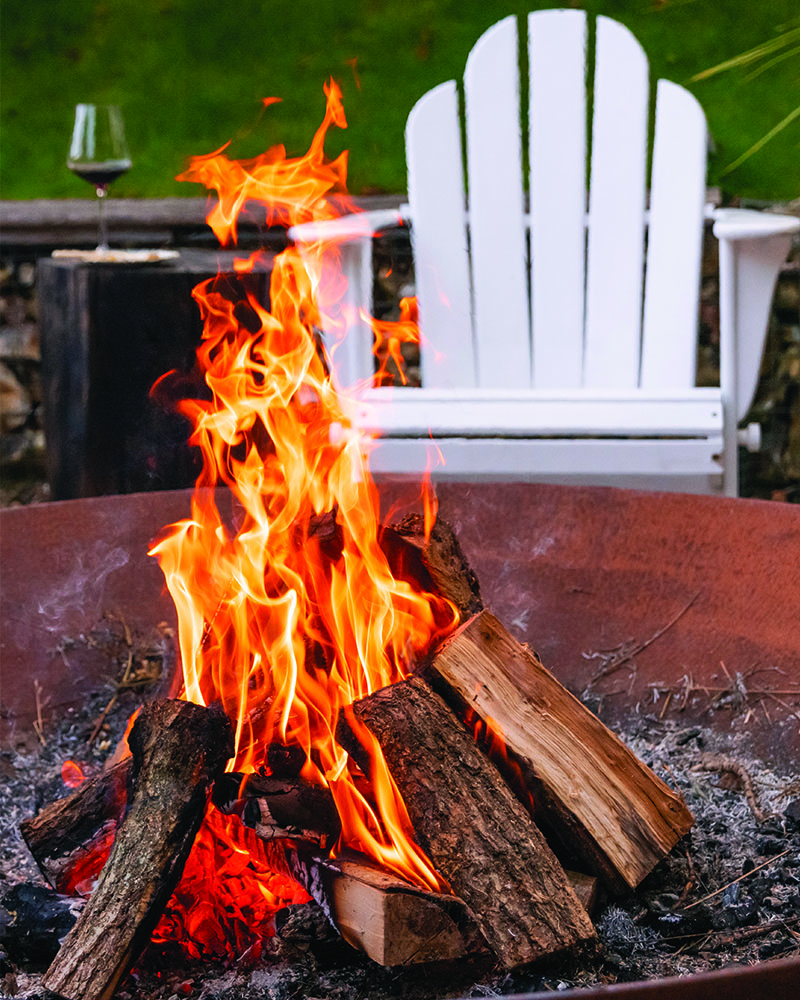
Once you have the ring complete, top off the base layer of sand with an added layer of 2-3 inches of crushed gravel. Use a hose to wet the gravel and the tamper to flatten it on top of the sand. If you decide to use one, add the fire pit bowl. Fire pit bowls, or metal liners, come in all different sizes. Unless you create a unique size or shape, you should be able to find one to fit the dimensions of your design. The benefit of using a bowl is that it’s much easier to maintain, clean, and care for your fire pit. The metal also protects the ground beneath the base layers and prevents roots from burning.

Extra Tips
- If you have an existing patio that you’d like to build an outdoor fire pit on, follow the same instructions as above. Instead of digging out the grass, use a construction adhesive or mortar to apply each layer to the patio, so that your fire pit is well secured. If you don’t have a patio, but are planning on building one, it’s a good idea to start with the fire pit first, and then build your patio around it.
- Materials to avoid when building your fire pit include regular bricks, limestone, sandstone, pumice and river rocks. These all have a tendency to retain water which, when heated, will usually break apart and even explode. Instead, use hard rocks like granite, marble or slate. Good options also include fire-rated bricks, lava rocks, lava glass, and poured concrete.
- It’s a good idea to keep a large tarp nearby to cover your fire pit when it rains or snows.
- Installing four or five citronella candles around the fire pit is a great way to repel bugs and mosquitoes for peaceful evenings by the fire.
- With a little more work (and often the help of a professional), you can turn your ring into a gas-powered fire pit. You’ll need to dig for a gas line and purchase a certain kit for burning the gas. Gas fire pits are much easier to maintain and start with the flick of a switch, but there is nothing like the feel and smell of a real wood burning fire pit.
Sitting around an outdoor fire pit on a cool evening is one of the most relaxing and rejuvenating experiences. It’s a natural gathering spot for family and friends to enjoy together. A DIY fire pit is a fantastic project that shouldn’t take any longer than a weekend to build.
The featured design is about as simple as it gets, but sometimes it’s the simplest pleasures that give us the best outcomes in life. Hopefully we've “sparked'' an interest in building your very own fire pit. Always practice fire safety before you ignite any fires, and keep plenty of water or a fire extinguisher nearby. Enjoy all the nights gathered around a roaring fire coming from your very own DIY fire pit!
Featured Image by Leon Contreras.


