- 1. Things to Consider Before Building Your Oven
- 1.1. Size of the pizza oven
- 1.2. Selecting a location
- 1.3. Cost and materials needed
- 1.4. Type of pizza oven you want
- 2. The skill level to build a backyard pizza oven
- 3. Why is a Pizza Oven Dome Shaped?
- 4. Building Your Backyard Pizza Oven
- 5. Materials Needed
- 6. Tools Needed
- 7. Step 1: The Base
- 8. Step 2: The Oven Floor
- 9. Step 3: The Dome Support
- 10. Step 4: The Brick Dome
- 11. Step 5: The Pizza Oven
- 12. Additional Tips
- 12.1. Increasing Thermal Efficiency
- 12.2. Protecting Your Pizza Oven from Snow and Rain
- 13. Using a Thermometer to Control Heat
- 14. Enjoy Your New Backyard Pizza Oven

How to Make a Backyard Pizza Oven
Table of Contents [Show]
Pizza is one of the world’s most popular foods. In fact, almost half of all Americans eat pizza at least once a week. It comes in different shapes and sizes and the toppings are seemingly endless. There’s delivery (fast-food) pizza, gourmet pizza, Chicago-style and New York-style, to name a few. But there’s nothing better than creating and baking pizza in your own home or, more like it, in your own backyard!
If you love making pizza, a backyard pizza oven is a perfect choice. Pizza ovens cook in a way that stoves or grills can’t. Plus, a pizza oven is great for entertaining. Let’s take a look at what it takes to make a backyard pizza oven, the materials you’ll need for the build, and things to consider before beginning.

Things to Consider Before Building Your Oven
Size of the pizza oven
The size of your backyard pizza may depend on both the size of your backyard and the size of your family. A good place to start is an oven with a 34-inch diameter. If you have a large family and you know you’ll be baking a lot of pizzas, you may want to consider an oven with a diameter of 50 inches. You could even get creative and build a double-stack oven.
Selecting a location
Deciding where to build your pizza oven is an essential step in the process. Before you begin, you will need to select the ideal location. This will be a permanent installation, so careful planning is important. Things to think about are:
- Your backyard configuration
- Its proximity to other structures (there should be a 3-foot clearance all around)
- Whether it will be out in the open or under a pavilion
- Finding or creating a level and sturdy foundation
- Choosing a location that is easily accessible to dining and entertaining
- Checking local building codes
Cost and materials needed
A pizza oven can be built with a few materials for around $50, or it can be a more elaborate brick oven for over $1000. The cost will also depend on the size and style of oven you want to build. In the example below cement, mortar and bricks are used to build the oven. The cost should be around $350 - $450.
Type of pizza oven you want
Are you looking to build a stationary or a moveable pizza oven? The directions below call for a stationary pizza oven. The benefit of a stationary oven is that it will likely last much longer than a movable oven. You could also build an oven you’re able to transport. This is great to bring to events and it may be easier to store for longer periods of time.
The skill level to build a backyard pizza oven
With little to no building skills, you can tackle this project on your own. However, it is always helpful to have someone working with you, especially when working with power tools.
Why is a Pizza Oven Dome Shaped?
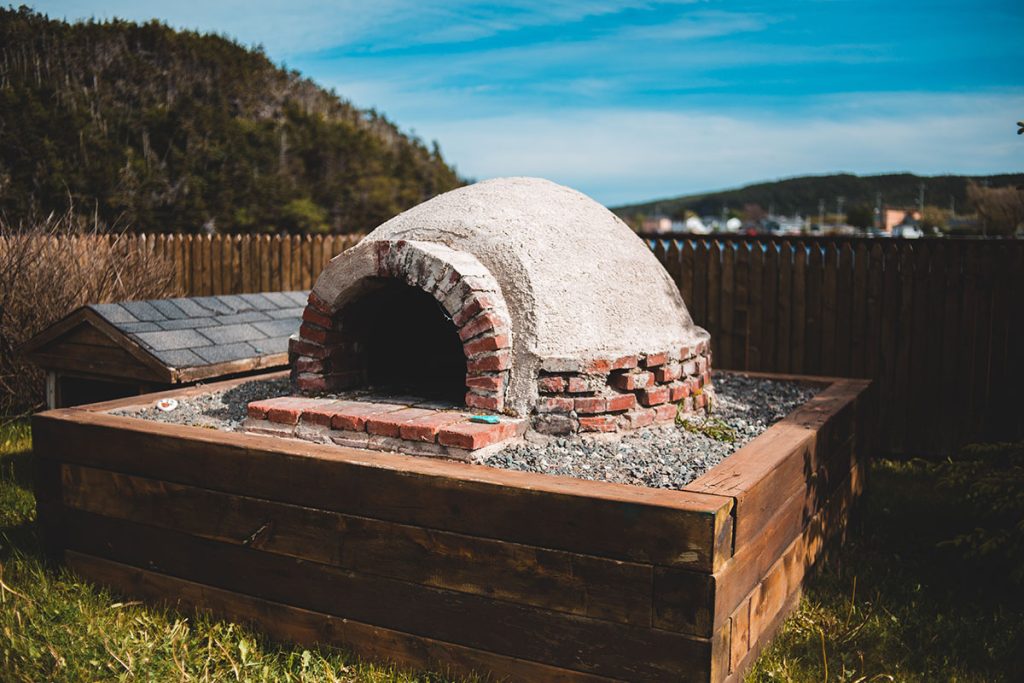
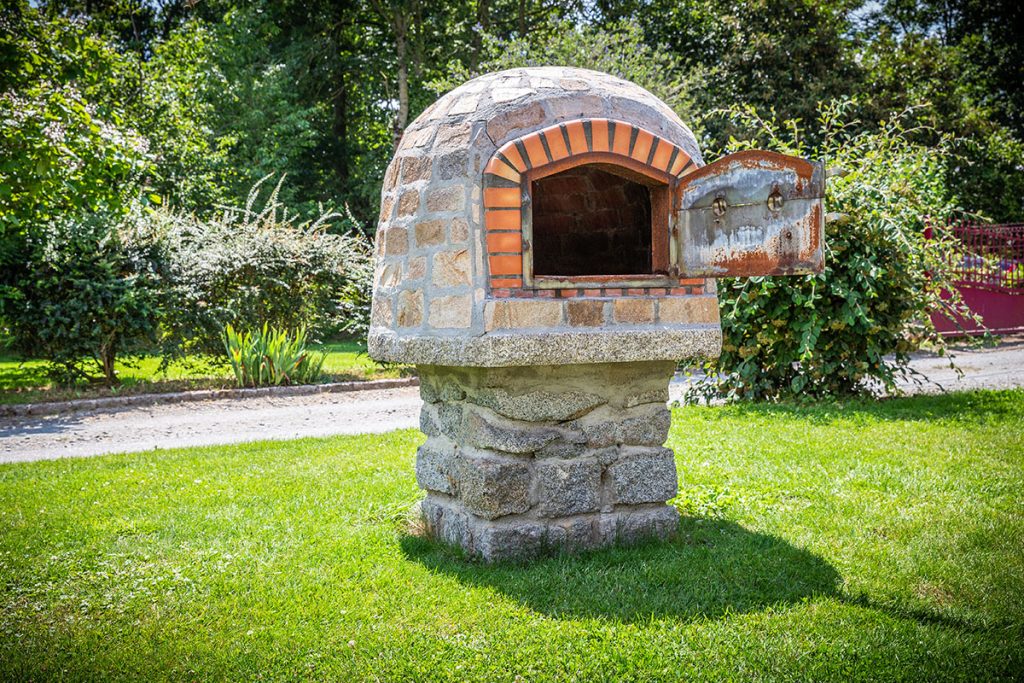
The universally recognized dome shape of a pizza oven isn’t just for aesthetics. It actually serves a purpose. The dome shape forms a small pocket where hot air generated from the fire circulates above the pizza and transfers the heat. The heat comes from the bottom up to the top of the dome and is then redirected back down to cook a pizza evenly in just a few minutes.
The concentration of high heat perfectly caramelizes the toppings and sears the crust, making it crispy on the outside and chewy on the inside – creating the best wood-fired pizza!
Building Your Backyard Pizza Oven
Before you build your new pizza oven, you need to pick a location for it. The place you choose should be level and at least 3 feet away from your home. Building too close to any structure presents a fire hazard, so leave at least 3 to 5 feet of space between the brick pizza oven and your home. Always keep safety in mind when taking on this or any project. Make sure you have safety glasses, a respirator, gloves, and protection for your ears.
This design is for a dome-shaped wood-burning oven built from retaining wall block and the brick The base is open, making it perfect for firewood storage. Follow the instructions below to build your backyard pizza oven:
Materials Needed
- Retaining Wall Block
- Masonry Construction Adhesive
- Clay Bricks
- Fire Bricks
- High-Heat Mortar Mix
- Mortar Mix
- Drywall Mud Pan
- Sponge
- Plywood
- 2-in-by-4-in Lumber
- Lauan
- Screws
- String
Tools Needed
- Tape Measure
- Angle Grinder
- Speed Square
- Level
- Spade Shovel
- Masonry Chisel
- Garden Hose
- Garden Hoe
- Brick Trowel
- Concrete Float
- Caulk Gun
- Rubber Mallet
- Tuck Pointer
- Jigsaw
- Circular Saw
- Safety Glasses
- Work Gloves
- Respirator/Safety Mask
- Hearing Protection
- Drill
- Hammer
- Utility Knife
- Pry Bar
- Oscillating Multipurpose Tool
Step 1: The Base
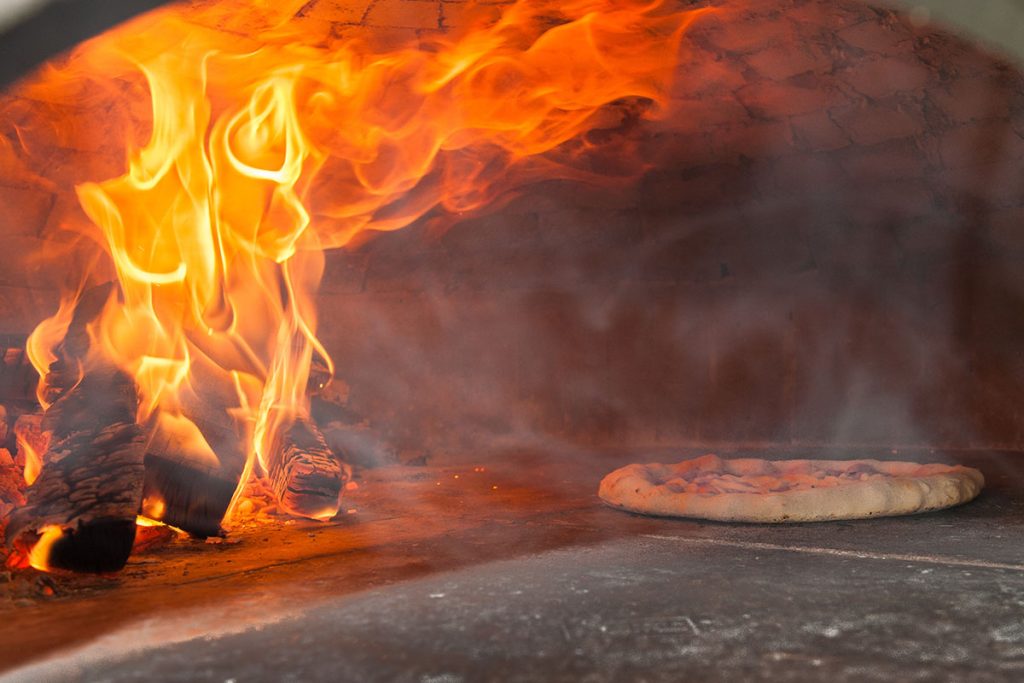
Tools and Materials Needed: Retaining wall block, construction adhesive, speed square, angle grinder, chisel, capstone.
The 3-foot-by-3-foot U-shaped base will fit a 36-inch oven. If you want a larger or smaller oven, your base will need to measure the same size as your desired oven. Also note, that the base is designed to sit on top of a concrete or paver patio. You may need to lay a level concrete slab foundation before building your oven.
- Cut the Blocks. Depending on the size of your retaining wall blocks, you may need to cut them to fit the design. To cut the blocks, use a speed square to mark the desired cut location, use an angle grinder to score the blocks on each side by cutting to a depth of about 1/4 inch, and use a chisel to split the blocks.
- Build the Base. Since this is where your pizza oven is going to sit, you need to be certain the first layer is both level and plumb. Stagger the block joints to add structural integrity and ensure your pizza oven won’t topple. Keeping every layer level is important, so always check a layer before proceeding to the next. If you discover that a layer is not plumb or level, you can use a rubber mallet to adjust the positions of each block until they all fit into place. Apply landscape adhesive between layers, placing two lines down the middle of each block so it won’t squeeze out the sides.
- Cap the Base. The capstone is the base of your pizza oven. Once you’ve built the blocks to the height you desire, apply landscape adhesive to the top row of blocks and place the capstone on top.
Step 2: The Oven Floor
Tools and Materials Needed: Clay bricks, fire bricks, angle grinder, mortar, trowel
This is the beginning of your pizza oven. The oven floor helps establish the dome shape.
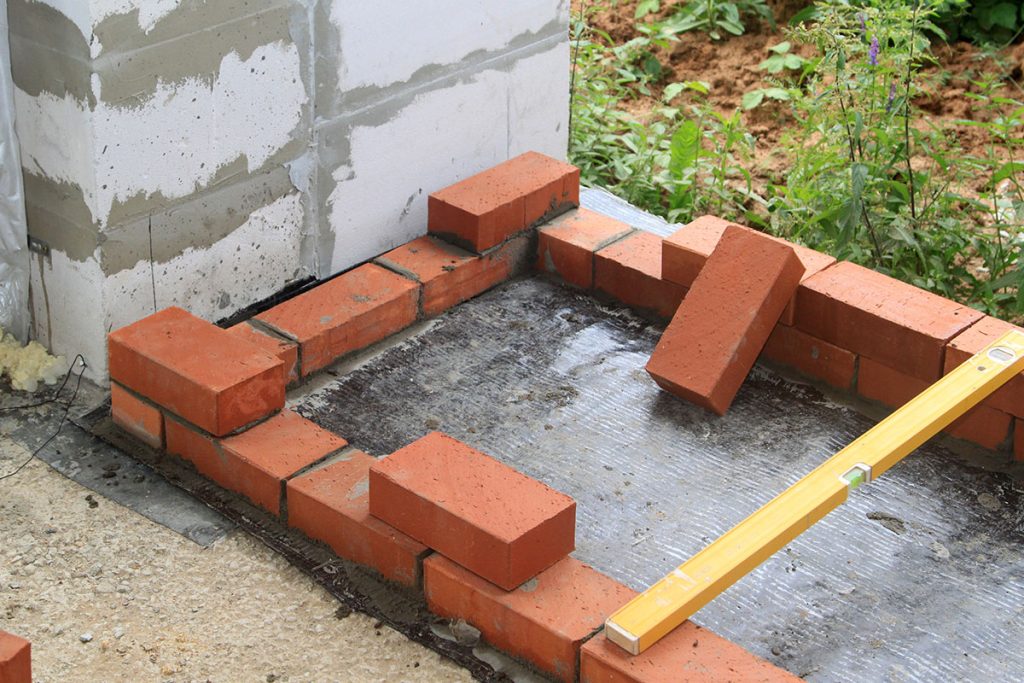
- Outline the Base. Use clay bricks to line the perimeter of the capstone along three sides.
- Fill in the Base. Lay fire bricks inside the clay bricks, using an angle grinder to make any cuts to the bricks. The fire bricks will be on the oven floor. It's a good idea to first layout and dry-fit your bricks before applying adhesive.
- Attach the Bricks. Mix high-heat mortar to attach the bricks to the capstone. Follow the instructions on the package, but it should have the consistency of a milkshake when ready. Use a brick trowel to apply a thin layer of mortar on one side of the fire brick and adhere it to the capstone. Allow 24 hours for the mortar to set.
Step 3: The Dome Support
Tools and Materials Needed: Plywood, 2x4s, lauan, jigsaw, drill, screws, nail, hammer, string, pencil, eye protection, respirator/dust mask, hearing protection.
In order to build the brick dome for your pizza oven, you need to create a mold or support structure for it. This is temporary and will be removed once the dome is complete. Use the width and depth of the fire brick (excluding the clay bricks) base to determine the width and depth of the support.
- Draw the Dome Shape. On plywood, measure and draw the shape of your dome. To draw the radius, hammer a nail to the center point of plywood. Attach one end of a string to the nail and the other end to a pencil. Mark the desired height of the arc and sweep the pencil from left to right to draw the shape.
- Cut the Arc Molds. Cut out the arc-shaped mold with a jigsaw. This is the oven opening. Trace the cut piece onto another sheet of plywood and cut out an identical arc-shaped mold.
- Create the Dome Support. Form the mold by using 2x4s cut to size and screwing them to the plywood molds. Bend lauan over the top of the arcs and fasten. Drill several holes in the front of the mold to help pull it out when the brick dome is finished.
Step 4: The Brick Dome
Tools and Materials Needed: Clay bricks, mortar, trowel, tuck pointer
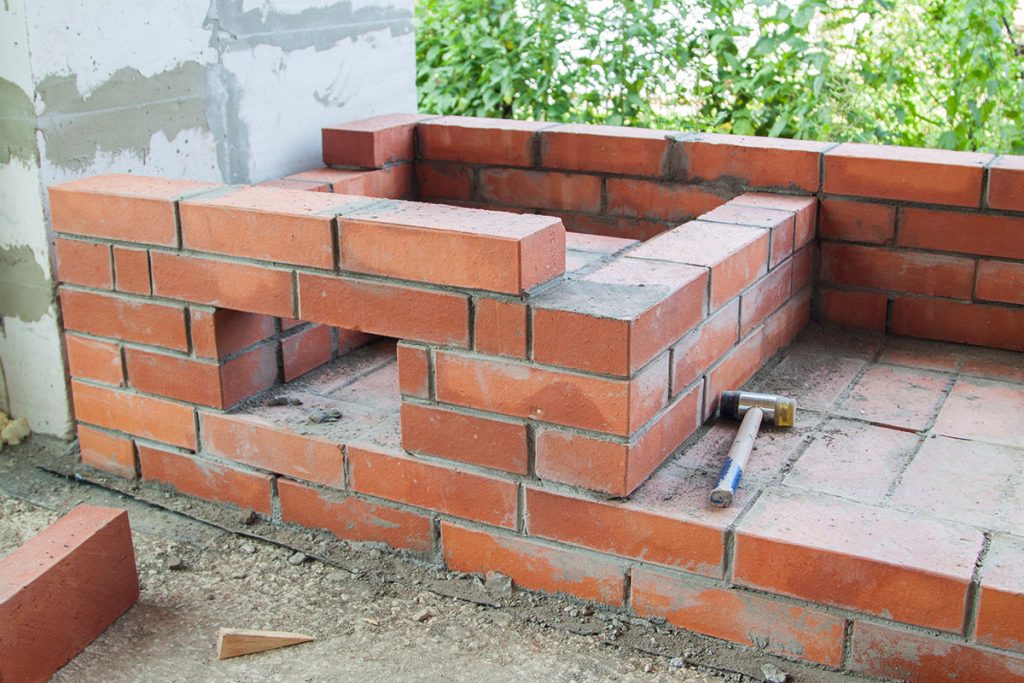
Once the mold is finished and placed on top of the fire brick base, it’s time to lay the bricks around it and create the dome.
- Mix the Mortar. Mix mortar according to the manufacturer's instructions. It should be a little bit thicker than the mortar used on the fire brick.
- Lay the Bricks. Using a brick trowel, apply mortar to the face of the clay brick and along one side. Starting with the clay bricks on top of the capstone, stack the bricks around the mold. You’ll likely need to cut bricks to accommodate the layout. Stagger the joints for stability.
- Fill the Joints. Using a tuck pointer, fill in the mortar joints. This can also be used to pump up the level of the brick. Doing this gives a neat appearance to the dome.
- Create the Chimney. Leave an 8x8 inch square cutout at the top of the dome. Using the same bricks you’ve used for the dome, create a chimney that is four to five layers high, using mortar to secure the bricks. It’s important to check that the chimney is level during this step.
Step 5: The Pizza Oven
Tools and Materials Needed: Drill, hammer, utility knife, pry bar, oscillating multitool, eye protection, gloves.
Once the mortar is dry and set (2-3 days), it’s time to remove the mold and reveal your finished pizza oven.
- Remove the Mold. Take time to remove all screws and nails used to build the mold. Using the drilled holes, pull off the front of the mold. Use a pry bar to carefully remove the 2x4s and an oscillating multitool to remove the remainder of the mold.
- Prepare the inside. Before you use your oven, sand away any mortar that is left over so that you have a smooth surface along the oven floor. Remove all dust and debris and get ready to use your new backyard pizza oven!
Additional Tips
Increasing Thermal Efficiency
If you’d like to increase the thermal efficiency of your pizza oven, apply an insulating outer layer. You could do this by adding:
- Cement rendering – a mixture of sand, cement, and water.
- “Cob” – a mixture of clay, sand, straw, and water.
Both of these options can be applied to the outside of the oven and will not only help trap heat more efficiently but will also increase the lifespan of your oven.
Protecting Your Pizza Oven from Snow and Rain
You worked hard to build your pizza oven, so it’s important to protect it from the elements. The wall of a brick oven will seep water over time. When this happens, the heat from the fire will turn into steam. The pressure from the steam may cause the walls of the oven to crack.
If your oven isn’t sitting under a protective structure, you should purchase a tarp or rain cover for it. Choose one that is well-fitted and secure so that it won’t blow away, and make sure to check it occasionally for any damage or potential areas of leakage.
Using a Thermometer to Control Heat
When using a wood-fired oven it can be tricky to gauge the inside temperature. To assist in cooking the perfect pizza, a thermometer may come in handy.
Enjoy Your New Backyard Pizza Oven
Gather your favorite ingredients and stoke up the fire. Now that your new backyard pizza oven is complete, it’s time to make your own homemade fresh-baked pizza. Enjoy!
Featured image by: Fabrizio Pullara.


