- 1. Key Takeaways
- 2. What is Kayaking?
- 2.1. Types of Kayaks
- 2.2. Parts of the Kayak
- 3. Kayaking Gear
- 3.1. Paddle
- 3.2. Bilge Pump
- 3.3. Lifejacket (PFD)
- 3.4. Spray Skirt
- 4. Kayaking Clothing
- 4.1. Helmet or a Hat
- 4.2. Swimwear
- 4.3. Wetsuit
- 4.4. Rashguard or a Swim Shirt
- 4.5. Vest
- 4.6. Rain Jacket and Pants
- 4.7. Neoprene Footwear
- 5. Other Essentials
- 5.1. Sunscreen
- 5.2. Sunglasses
- 5.3. Water Bottle
- 5.4. Snacks
- 5.5. Dry Bag
- 5.6. Map
- 5.7. Whistle
- 5.8. First Aid Kit
- 5.9. Carabiner
- 5.10. Spare Paddle
- 5.11. River Knife
- 5.12. Change of Clothes
- 6. Learning How to Get In and Out of Kayak
- 6.1. From a Dock
- 6.2. From a Shore
- 6.3. Frow Water
- 6.4. Getting Out Of a Kayak
- 7. Kayaking Techniques: Step-by-Step
- 7.1. Getting in and out of the kayak
- 7.2. Holding the paddle correctly
- 7.3. Learn how to grip the paddle correctly
- 7.4. Learn the different kayaking paddle strokes
- 7.5. Learn how to use the rudder or skeg
- 8. Paddle Strokes 101
- 8.1. Forward Stroke
- 8.2. Reverse Stroke
- 8.3. Sweep Stroke
- 8.4. Draw Stroke
- 9. Kayaking Beginner Tips
- 9.1. Always have a PFD on (and wear it correctly!)
- 9.2. Perfect getting in and out of the kayak
- 9.3. Choose the right kayak
- 9.4. Launch at a beginner-friendly spot
- 9.5. Choose the right weather conditions for learning kayaking
- 10. Choosing the Right Spot
- 11. Kayaking Safety Tips
- 12. Benefits of Kayaking
- 13. Final Thoughts
- 14. FAQs
- 14.1. Is kayaking hard for beginners?
- 14.2. Is a sit-in kayak better for beginners?
- 14.3. Is kayaking good for weight loss?
- 14.4. What is the best age to start kayaking?
- 14.5. What happens if you flip when kayaking?
KÜHL’s Kayaking for Beginners Guide - All You Need to Know
Table of Contents [Show]
Few activities are as versatile as kayaking. Kayaking is a fantastic way to enjoy nature, exercise, and create friendships that build camaraderie. And if you're looking for a hobby you can enjoy with your better half, sunsets and sunrises on a kayak are truly magical. Seriously, grab a paddle.
Kayaking for beginners can be challenging, especially mounting and dismounting. But once you get the hang of it, we are positive you will always look forward to the next kayaking session.
To get the most out of your time on the water, our guide has some basics on how to kayak and some kayaking tips and tricks to always remember.
Key Takeaways
- The four most common types of kayaks are sit-inside, sit-on-top, whitewater, and touring/sea.
- The ideal type of kayak comes down to the type of paddling you'll be doing and whether you prefer sitting inside or on the kayak.
- Skegs and rudders keep the kayak running straight. But the rudder also makes it easier to turn the kayak.
What is Kayaking?
Kayaking is a type of water sport that involves paddling a narrow, canoe-like craft using a double-bladed paddle. A kayak differs from a canoe because the latter has a broader frame and an open top. This design makes it a breeze to enter and exit. On the other hand, learning how to get into a kayak is a class by itself, owing to its narrow design.
Types of Kayaks
A crucial tip for learning how to get into kayaking is understanding the various types of kayaks. Yes- kayaks are designed differently, depending on their intended purpose and where they are meant to be used.
To get a good time on the water, you first need to get the right kayak for your needs and the type of water you'll be in.
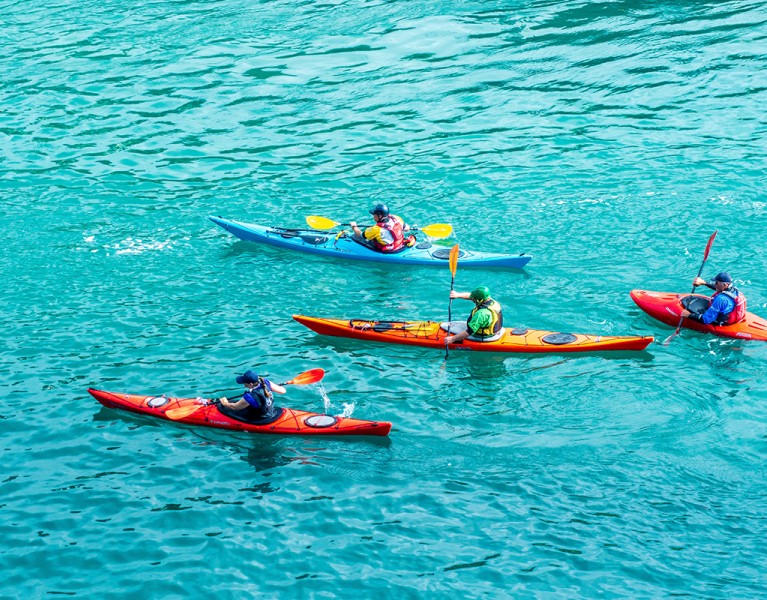
These are the four most common types of kayaks in the market:
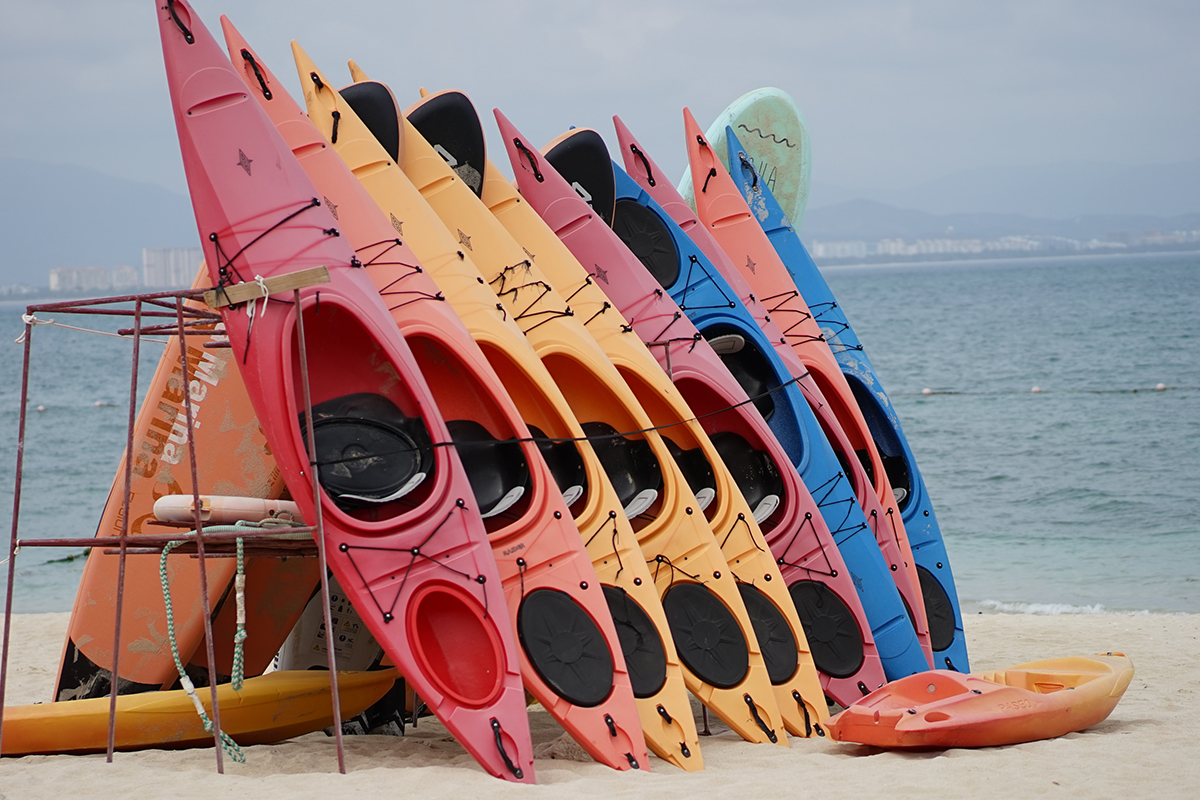
Sit-Inside Kayaks
A sit-inside kayak is a kayak with a semi-enclosed cockpit design. When paddling a sit-inside kayak, your legs stay in direct contact with the kayak, meaning you have much more boat control.
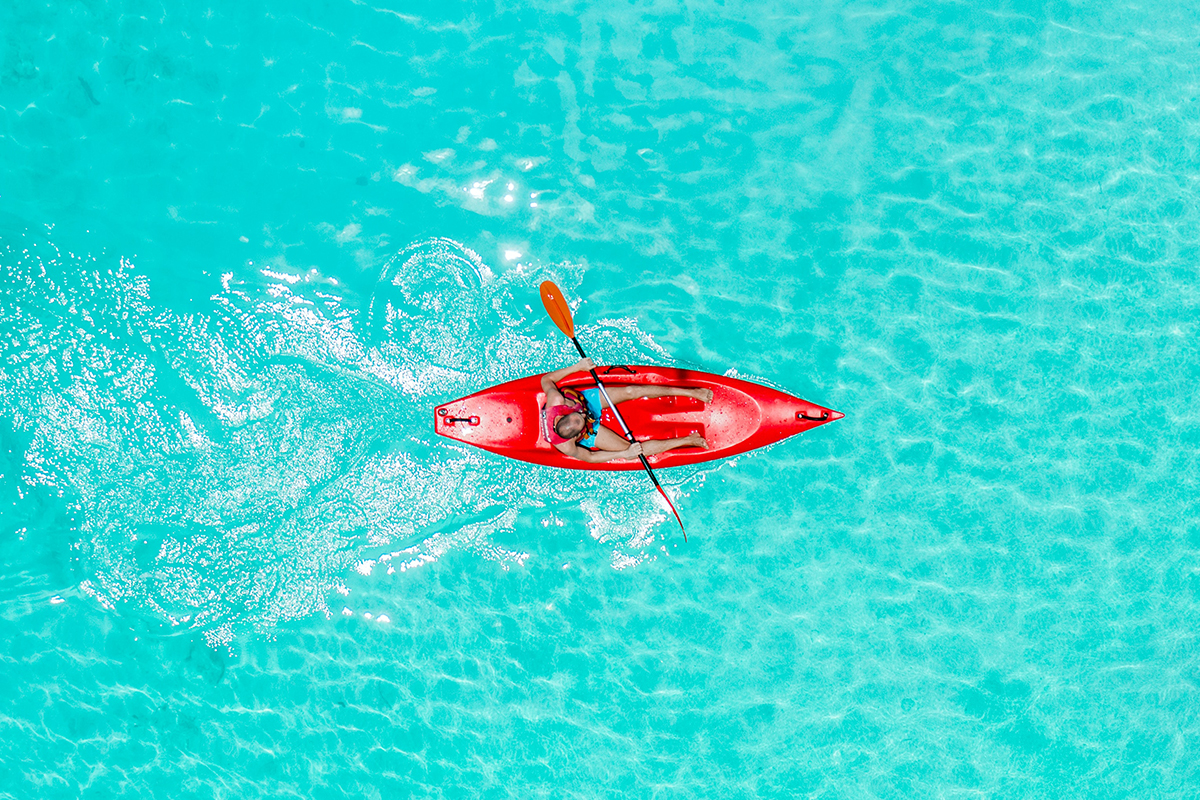
Sit-On-Top Kayaks
A sit-on-top kayak is designed so that you sit on top of the boat instead of sliding your legs inside a cockpit. The first advantage of a sit-on-top kayak is that it's incredibly comfortable because your legs are not stuck in one position.
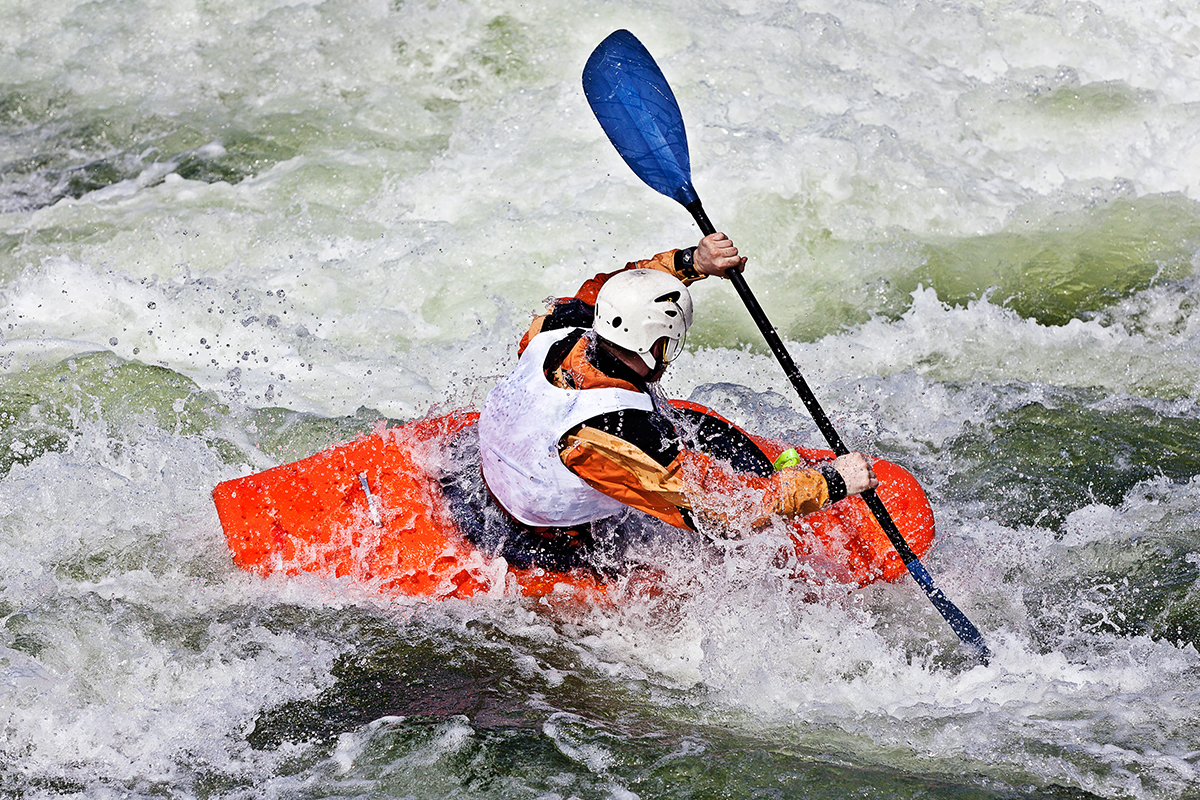
Whitewater Kayaks
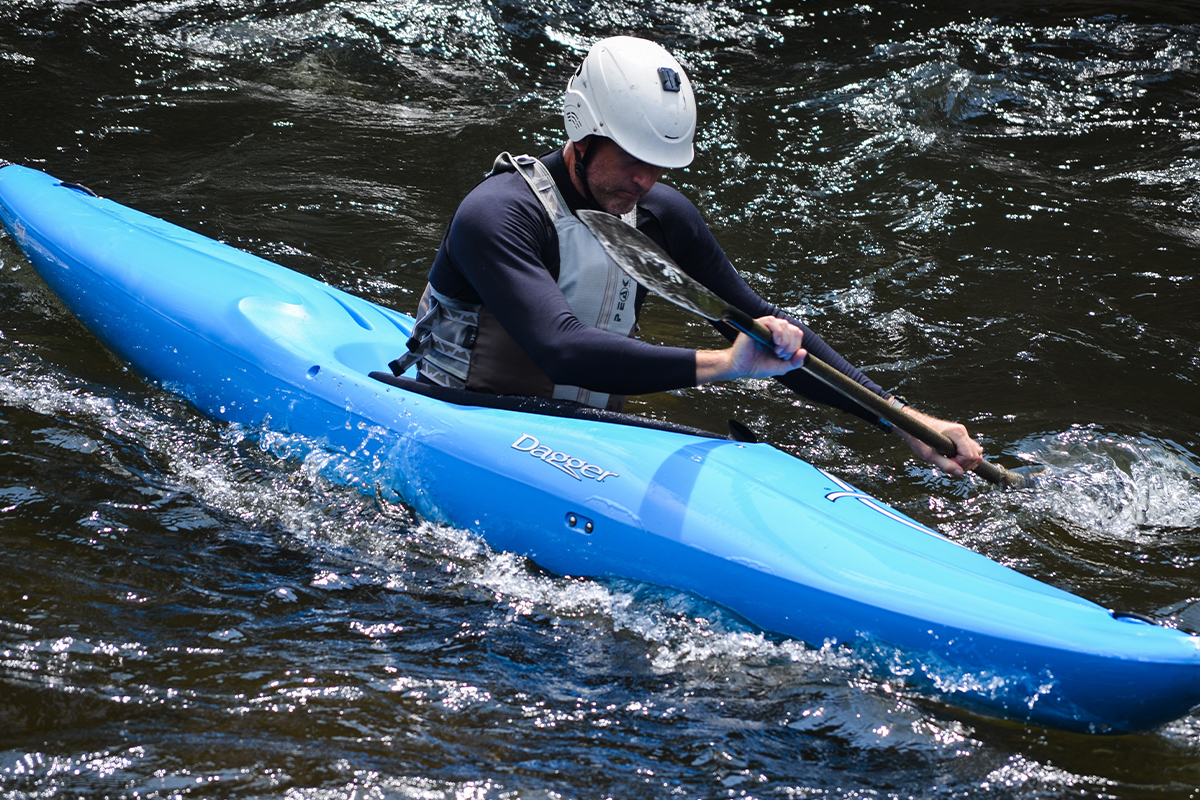
These are sit-in kayaks that are specially designed for whitewater kayaking. Whitewater kayaks tend to have a shorter design with a rounded or flatter hull for better maneuverability and stability amongst a river's rapids. In addition, they have a sit-in design, including the possibility of adding a splash skirt.
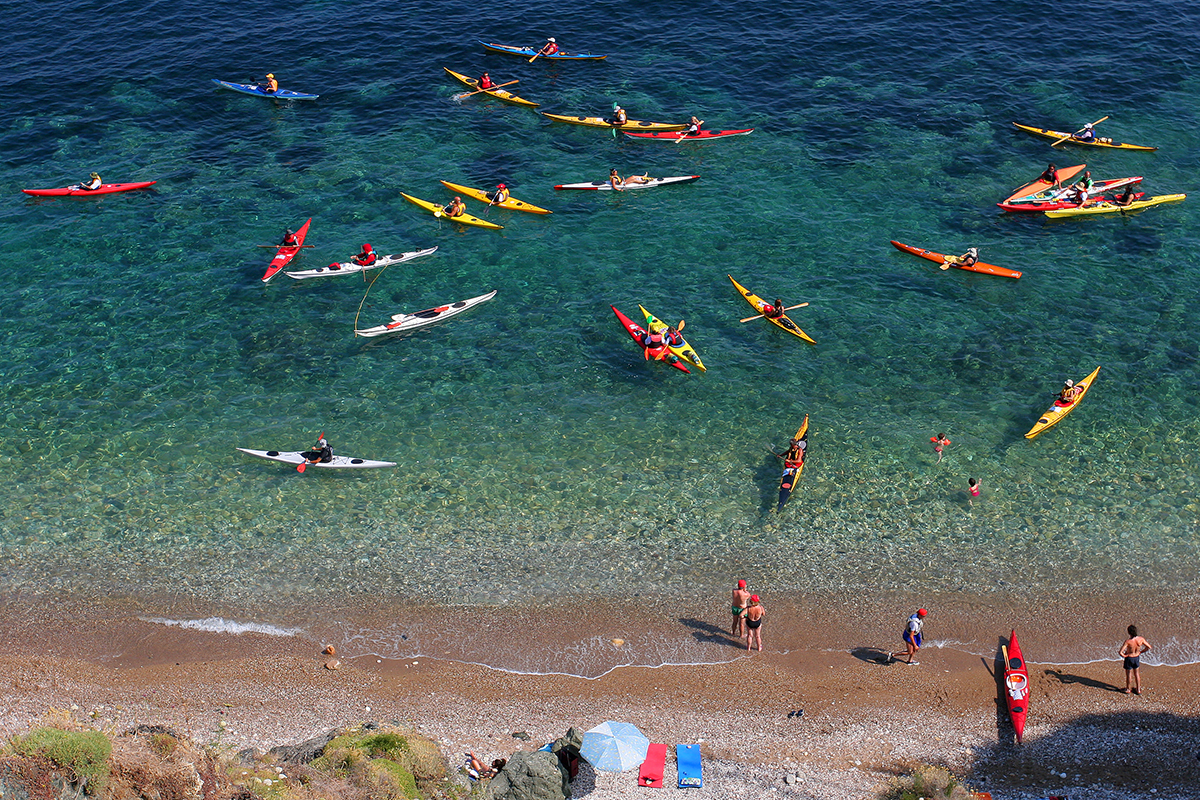
Touring/Sea Kayaks
Touring kayaks are narrower and longer. This design makes them quicker and allows for a more efficient paddling experience. Compared to other kayaks, touring or sea kayaks have more storage capacity for your camping cargo during a long kayaking trip.
Parts of the Kayak
There is a lot to understand if you want to learn how to kayak. As a beginner kayak enthusiast, a kayaking 101 guide is essential for picking the right 'yak for your needs. Communicating with other kayakers and kayaking shops regarding repairs and maintenance also becomes easy.
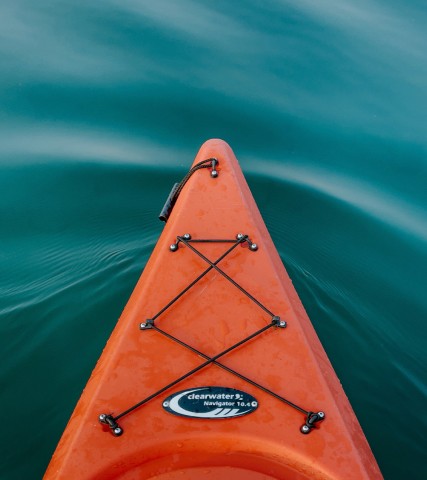
- Bow- boatspeak for the front of the kayak. It points to where you are headed.
- Stern- the rear of the kayak. It points in the direction you're coming from.
- Deck- the top half of the kayak.
- Hull- the bottom half of the kayak that's in contact with the water as you paddle.
- Cockpit- exclusive to sit-in kayaks. The area in the middle where you sit and command the kayak.
- Coaming- the rim on the cockpit rim onto which you attach a spray skirt. Exclusive to sit-in kayaks, too.
- Seat- where you sit and command the kayak.
- Thigh braces- hook-shaped toggles on both sides of the cockpit that curve over your thighs to give you more contact points with the kayak.
- Footrests- usually adjustable; this is a system of footrests where you brace your feet for added stability and better kayak control.
- Skeg- a static drop-down fin traditionally embedded on the bottom of the kayak.
- Rudder- a fin that flips down from the top of the deck. It moves from side to side to keep the kayak on track and control the boat's direction.
Kayaking Gear
The thing with first-time kayaking is that you only need a little stuff to get started. But as you paddle more and interact with other kayakers, you realize that there's equipment that takes the paddling experience a notch higher.
Here are some of the items you'll need to enjoy all the benefits of kayaking:
Paddle
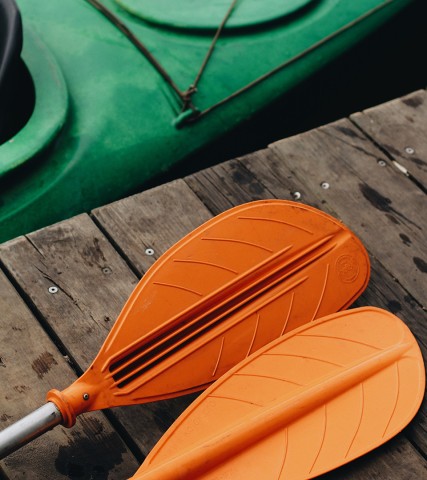
Kayak paddles differ in length, construction materials, blade size, and shape. Ultimately, you want the right paddle for your height and kayak width.
Bilge Pump
A handy tool used to remove water that has collected inside the cockpit or other parts of the kayak. There are manual and automatic bilge pumps.
Lifejacket (PFD)
The first rule for getting on the water is to have a wearable personal floatation device (PFD). When it comes to kayaking, remember to bring a paddling-specific PFD.
Spray Skirt
A waterproof-breathable fabric that covers the cockpit of a sit-in kayak. It usually has a hole with an elastic cord for the paddler's waist. The role of a spray skirt is to prevent rainwater and splashing waves from swamping your kayak.
Kayaking Clothing
Helmet or a Hat
A kayaking-specific helmet is vital for whitewater kayaking, kayak surfing, and exploring rocky caves. Getting a quality helmet with a reasonable safety rating is also recommended if you're learning to kayak and don't know what to expect in the water up ahead. Otherwise, you can get away with these KÜHL hats and caps when kayaking on calm waters. A hat with a wide brim protects you from sun exposure, thus reducing the rate of overheating and dehydration.
Swimwear
You may wear a swimsuit as your first layer if kayaking in warm conditions. It's more comfortable and makes getting back on the kayak easier if you roll or fall out.
Wetsuit
A wetsuit is ideal for winter kayaking and other cold-water scenarios that will likely drop your body temperature to dangerous levels. Typically made of foamed neoprene, a wetsuit hugs you tightly to retain body heat while allowing greater mobility.
Rashguard or a Swim Shirt
Swim shirts and rashguards are pieces of UPF clothing that protect you from UV radiation, decreasing the possibility of sunburns. Both serve the same purpose, so your choice comes down to personal preference. Consider a rashguard if you are looking for long sleeve swimwear with a flattering fit. On the other hand, a swim shirt will be more preferable if you want something more affordable and non-skin-tight.
Vest
Any life jacket or vest is better than none when enjoying water adventures. You want a nice balance between safety and comfort. In other words, the vest should keep you afloat while allowing a wide range of motion around your upper body for easy paddling. The best kayaking vests are type III.
Rain Jacket and Pants
Safety dictates wearing proper rain gear if the weatherman has predicted rain during your kayaking season. In that case, a waterproof jacket and rain pants are ideal for keeping you warm and dry. Consider a breathable jacket with latex gaskets at the neck and wrist to prevent water from dripping off the paddle shaft through your arms and lower body.
Neoprene Footwear
Neoprene shoes are the most popular choice for kayaking because they are non-slip, lightweight, flexible, and quick-drying.
Other Essentials
Sunscreen
Sunscreen is crucial if your sun-protective clothing exposes some parts of your skin. Sunscreen reduces exposure to the sun's harmful rays, thus reducing the risk of sunburn and skin cancer. Ensure it's a water-resistant, broad-spectrum sunscreen with a minimum SPF rating of 15.
Sunglasses
A quality pair of sunglasses is another critical kayaking gear often overlooked by many. The right pair of polarized sunglasses block glare, making it easy to see without squinting. But most importantly, wearing sunglasses when kayaking protects your eyes from the UV reflected off the water.
Water Bottle
We recommend bringing at least one liter per passenger for every 50 minutes spent on the water to stay hydrated when paddling.
Snacks
In addition to staying hydrated, staying energized throughout the kayaking trip is also essential. Lacking the energy to paddle back to the shore is more than frightening- it's dangerous. First, ensure you're adequately fueled before paddling out. Second, pack more than enough high-energy snacks so you have enough physical and mental energy during your paddle.
Dry Bag
A dry bag is guaranteed to keep your electronics, change of clothes, car keys, first aid kit, and other valuables dry when kayaking. Dry bags are typically made of PVC tarpaulin or PU-coated Taffeta nylon and radio frequency welded to make them leak-free.
Map
When going for long kayaking trips, a map will come in handy in locating campsites along the shores, a hidden beach, a remote island, or a secluded cove.
Whistle
A whistle is an essential safety tool when getting on the water on a non-powered watercraft. A major part of beginners’ kayak classes is learning how to use the whistle properly, depending on where they are kayaking and the message they are trying to relay.
First, one blast gets another paddler's attention, and five blasts signify danger ahead. Second, you blow the whistle thrice during an emergency in the river and five times if it's in coastal waters.
First Aid Kit
A good first aid kit when kayaking is as important as a quality PFD. From taking care of a busted nose to managing cuts, bruises, and blisters, a first aid kit is crucial for performing self-rescues as you paddle to the shore or await the EMTs. Some items to include in a kayaking first aid kit checklist are band-aids of different sizes, roll gauze, gauze pads, antiseptic wipes, aspirin, and chewable Dramamine.
Carabiner
We recommend bringing 3-5 carabiners on your kayaking trip. These are essential for attaching items to the deck so they are easily accessible when you need them.
Spare Paddle
It’s not illegal to not have a spare paddle when paddling. But home will be far away when you resort to paddling with your hands after losing your only paddle.
River Knife
A trustworthy river knife is essential in self-rescue situations where you must cut through ropes in moving water. River knives are designed for rescue missions and usually have a grippy handle, a sharp, serrated edge for cutting wet cords, and a sheath that attaches to the PFD.
Change of Clothes
You probably won’t enjoy driving back home in wet clothes. Remember to bring a towel and extra clothes to change into after your kayaking session.
Learning How to Get In and Out of Kayak
Entering and exiting a kayak is the most daunting part for beginners. The degree of difficulty varies depending on your launching spot- water, dock, and shore. Here are beginner kayak tips to make getting in and out of your narrow boat effortless.
From a Dock
- When launching from a dock, you’ll want to use its lowest point; the farther the boat is from the top of the deck, the more difficult getting in will be.
- Start by positioning the kayak parallel to the dock.
- Sit down on the dock with your feet in the kayak’s cockpit.
- With your feet in the kayak and both hands holding onto the dock, turn your body toward the bow and lower yourself quickly but calmly into the seat. Remember to have your paddle close, so you can reach it after getting seated.
From a Shore
A quiet, sandy beach is the easiest place to enter into a kayak. You can simply hop into the cockpit at the edge of the water and use your hands to push the kayak out into the water. If you fear scratching your fiberglass or thermoformed kayak by sliding it on the sand, push it out until it’s floating in a few inches of water. Next, straddle it with a foot on either side and lower your butt into the seat. Next, pull your legs in, and you’re ready to paddle away.
Frow Water
- Getting into a kayak in deep water can be super tricky. But it’s a life-saving maneuver you must understand when learning how to use a kayak:
- Start by sliding your paddle under your deck lines so it doesn’t float away.
- Next, position yourself beside the seat.
- Hold onto the edge of the cockpit firmly and let your legs float behind you.
- Then, with a powerful kick with your legs, push yourself up so that your chest and thighs lie across the kayak.
- Lastly, rotate yourself around, and you’re in.
Getting Out Of a Kayak
Getting out of a kayak at the shore or dock requires reversing the entry procedure. If it’s a beach, paddle straight to the shore until the kayak can’t go further in the sand.
If you’re exiting on a dock, position the kayak parallel to the dock at its lowest point. Have a good grip on the dock and use your arms to lift yourself off the kayak one leg at a time. Don’t use your legs or knees to push against the kayak. Doing this will likely push the kayak underneath you, causing you to fall into the water.
Kayaking Techniques: Step-by-Step
Getting in and out of the kayak
Good kayaking techniques start with mastering the art of entering and exiting the boat. Of course, this is always easier if you have a partner to stabilize the kayak as you get in or out. But the sooner you learn how to do it alone, the better for you.
Holding the paddle correctly
To hold the paddle correctly, put the “center” of the paddle on your head. Then, move your hands across the shaft to form right angles at the elbow. That’s how far apart your hands should remain when paddling. Ideally, the distance from your hand to the paddle blade should be equal on both sides.
Learn how to grip the paddle correctly
Your wrists will get pretty sore when starting. But learning how to grip the paddle will reduce the soreness while positively impacting your strokes. Hold the paddle shaft with your thumbs and pointer fingers forming rings to do this. Keep all other fingers loose. This technique allows you to move the wrist around without stressing it.
Learn the different kayaking paddle strokes
Paddling a kayak should be relaxing and fun, and this starts with understanding the different strokes. More on this below.
Learn how to use the rudder or skeg
Learning how to use the rudder (or skeg) is as important as perfecting the art of holding the paddle correctly. Both are relatively easy to use, but understanding when and how to apply them is crucial.
Paddle Strokes 101
One of the most important tips for kayaking is to master all the basic strokes. After all, you can’t kayak without paddling.
The are the four kayaking strokes you need to know:
Forward Stroke
The forward stroke is what pushes you forward. It’s divided into three phases: catch, power, and release.
Catch phase- this is when you immerse the blade into the water near your feet. Ensure you reach with your arm and shoulders by winding the torso/waist.
Power phase- this is when you pull the blade alongside the kayak just behind your hips. You pull with your arm and shoulder while unwinding your lower back.
Release phase- when your hand reaches your hips, slide the blade out of the water.
Reverse Stroke
The reverse stroke is used minimally to brake or adjust the kayak's position. It’s essentially the forward stroke but in reverse. With the face of the paddle facing the bow, immerse the paddle blade into the water around your hip and use your torso to push the water forward. Slice the blade out of the water when it reaches your feet.
Sweep Stroke
The sweep stroke is a bow-to-stern stroke used to turn the kayak to the right or left. Wind up your upper body by turning your waist as much as possible and reach past the toes to plant the blade fully in the water. Next, pull the paddle back while making a wide arc as far to the side of the kayak as possible. Slice the blade out of the water just before it hits the side of the kayak. Doing the sweep stroke on the right side of the kayak turns it to the left and vice versa.
Draw Stroke
You use the draw stroke to move the kayak laterally or sideways. You apply it in various instances, including pulling close to the dock or another boat.
- Start by twisting your torso so you face the direction you want to go.
- Rotate your blade so it’s horizontal, and reach for the water straight out from the hip.
- Next, draw the water to the hip and slice the blade out of the water just before it hits the side of the kayak.
Kayaking Beginner Tips
Always have a PFD on (and wear it correctly!)
Never underestimate the power of water when engaging in any water sport.
Perfect getting in and out of the kayak
This is one of the most important kayaking tips for beginners. Practice entering and exiting the kayak in different launch spots, particularly a shoreline, a dock, and in water.
Choose the right kayak
We recommend starting with a sit-on, recreational kayak because it’s easy to get in and out of and maneuver.
Launch at a beginner-friendly spot
Another tip that makes learning to kayak easy is choosing a beginner-friendly launching location. Consider a dock lower to the water level or a sandy beach or boat ramp with a gentle slope.
Choose the right weather conditions for learning kayaking
Warm sunny weather with less wind means you can get wet without being chilly. Paddling on a calm day also allows for easy and effortless maneuvers.
Choosing the Right Spot
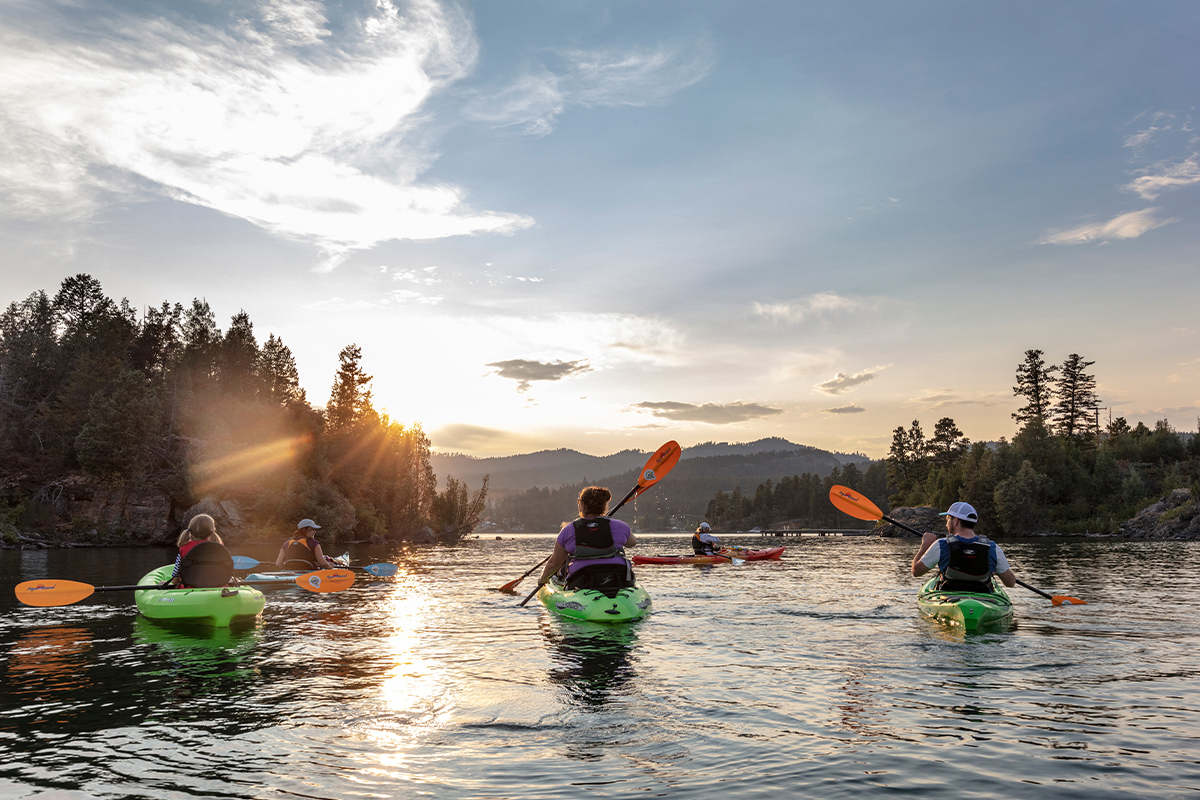
We understand your desire to challenge big waters, huge rapids, and towering waves. But as a beginner kayaker, you should perfect your skills in relatively safer spots, particularly a less-busy lake, a slow-moving river, or a pod. You can also learn a ton in your swimming pool (assuming it’s big enough for your kayak!).
Kayaking Safety Tips
Kayaking is safe for beginners. But there are basic kayak safety rules to prevent dangers, such as drowning, hypothermia, and injuries.
- Always wear a kayak-specific floating device whenever you are on the water.
- Learn basic kayaking safety skills, including the four major paddling techniques, rolls, and self-rescue.
- Never kayak solo as a beginner.
- Dress for the water (not the weather).
- Learn how to spot hazards and obstacles.
- Pick a paddling location suitable for your experience and ability.
- Always pack an emergency kit.
Benefits of Kayaking
Most people get into kayaking because it's a fun way to enjoy the outdoors. But paddling a kayak has tons of physical, health, mental, and emotional benefits, including:
- Losing weight
- Boosting your mood
- Improving your focus
- Increasing upper body strength
- Developing toned legs
- Improving your heart health
- Enhancing your memory
- Helping you get better sleep
- Increasing self-confidence
- Strengthening your core muscles
Final Thoughts
Kayaking should be a generally intuitive activity. You'll be able to get a good hang of it without a lot of kayaking instruction just by playing around in a lake or river. Although it's possible to develop the necessary skills on your own, a few pointers from an expert kayak guide will save you from learning some vital lessons the hard way.
Featured image by: Brandon McDonald.
FAQs
Is kayaking hard for beginners?
Actually, kayaking is easy. With the help of an expert, reasonably fit beginners can learn kayaking basics in a couple of hours on a calm lake or slow-moving river.
Is a sit-in kayak better for beginners?
It's much easier to learn kayaking on a sit-on kayak because it's more stable and easier to balance.
Is kayaking good for weight loss?
When done correctly, kayaking can help burn up to 400 calories per hour because it utilizes 12 major muscle groups, including abs, shoulders, thighs, quads, glutes, and calves.
What is the best age to start kayaking?
Kids 3-4 years old can get on a tandem kayak with an experienced kayaker. Children 5 years and above can learn to kayak on their own on a child-sized kayak and for short distances.
What happens if you flip when kayaking?
With a sit-on kayak, you will be thrown into the water, where your PFD will keep you afloat. For a sit-in kayak with a spray skirt, you'll need to do a wet exit.
