- 1. Night Photography Settings
- 2. Night Photography Tips
- 3. Night Photography Equipment
- 4. Adventure into the Darkness
- 5. FAQs
- 5.1. What equipment do I need for urban night photography?
- 5.2. How can I control exposure in low light?
- 5.3. What are the best settings for capturing city lights?
- 5.4. How do I avoid lens flares in urban night shots?
- 5.5. What's the ideal time for urban night photography?
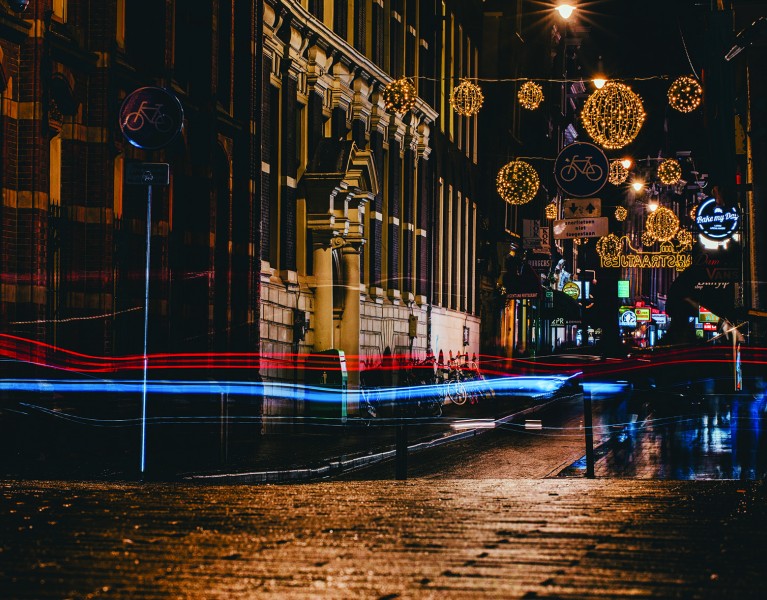
Night Photography: How To Photograph An Urban Environment
Table of Contents [Show]
Nature photography captures stunning images of beautiful landscapes and wildlife. But there’s an entirely different type of urban landscape and uniquely diverse “wildlife” to explore when capturing images in a city at night. Urban street photography can create some of the most intriguing images when dark streets become lit up by lampposts, neon signs, store windows, and car lights. Architecturally unique buildings take on a whole new light and people are dressed for fun and excitement. The scene is set for some colorfully bright photography in the dark.
While night photography brings many fascinating opportunities it also brings challenges. Capturing an image in the dark is tricky and needs precise detail or your photos may be just an unrecognizable blur. Let’s take a look at some tips and tricks for night photography in an urban environment.
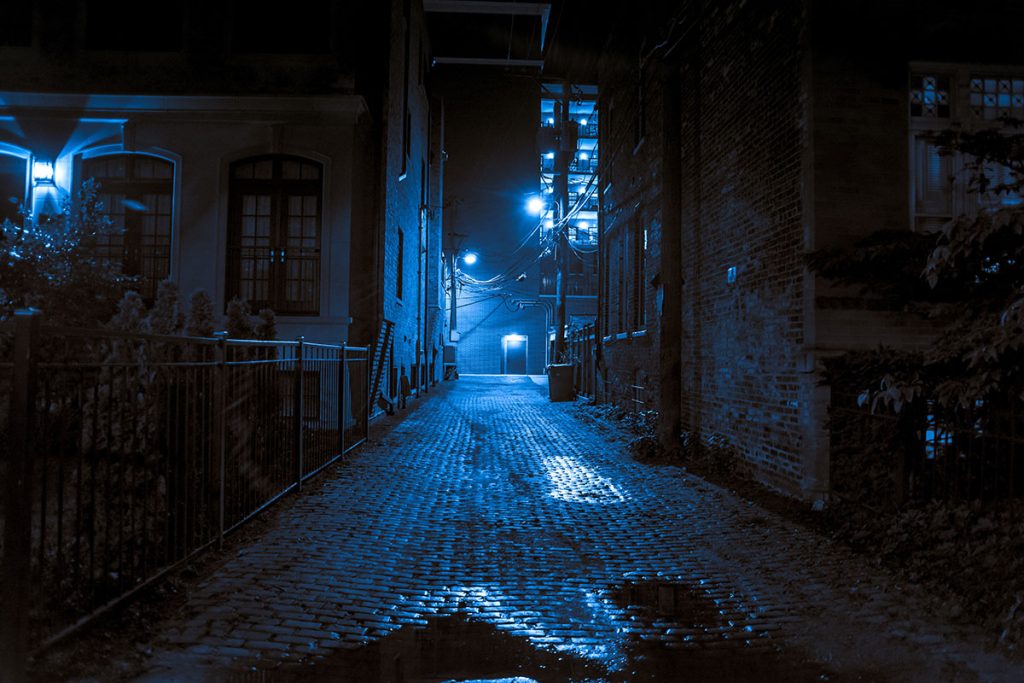
Night Photography Settings
You will need to prepare your camera for city street photography at night by making some setting adjustments. Let’s take a look at some settings that will allow you to capture clear images:
Manual Mode (M)
Setting your camera to manual mode gives you the opportunity to be fully in control. You can tune all the fine details without your camera taking over.
Aperture
The aperture should be set rather low, exactly how low depends on your camera and lens. Using f8, f11 or f16 will create a long depth of field which will sharpen your image from the foreground to the background. If the image is too dark, lower the aperture. If the image is too light, raise the aperture.
Shutter Speed
The shutter speed refers to how long the sensor of your camera is exposed to light. Daytime photography should consist of faster speeds (1000+ seconds). For night photography you’ll want to decrease the speed (30+ seconds). Because it's dark, a longer shutter speed will allow adequate light to enter the camera. Simply put; increase the duration if your images are too dark, and lower the duration if they’re too light.
ISO
The ISO setting on your camera, along with shutter speed and f/stop, are used to control exposure. For most situations, ISO should be set higher at night. But, the higher your ISO the more grainy your photos become. Try setting the ISO anywhere from 100 to 200. It’s a good idea to experiment with this setting before snapping too many unusable images.
RAW vs JPEG
Shooting in RAW is recommended for night photography as it will provide superior quality compared to JPEG. Much of the data in JPEG format is discarded in order to create a smaller file size, meaning your image may not be stored properly. When captured in a RAW format all the colors, highlights, shadows, and other intricate details are stored properly. RAW files will take up more space on your memory card, but this gives you more creative freedom afterward to edit your images and format them into any file type you wish.
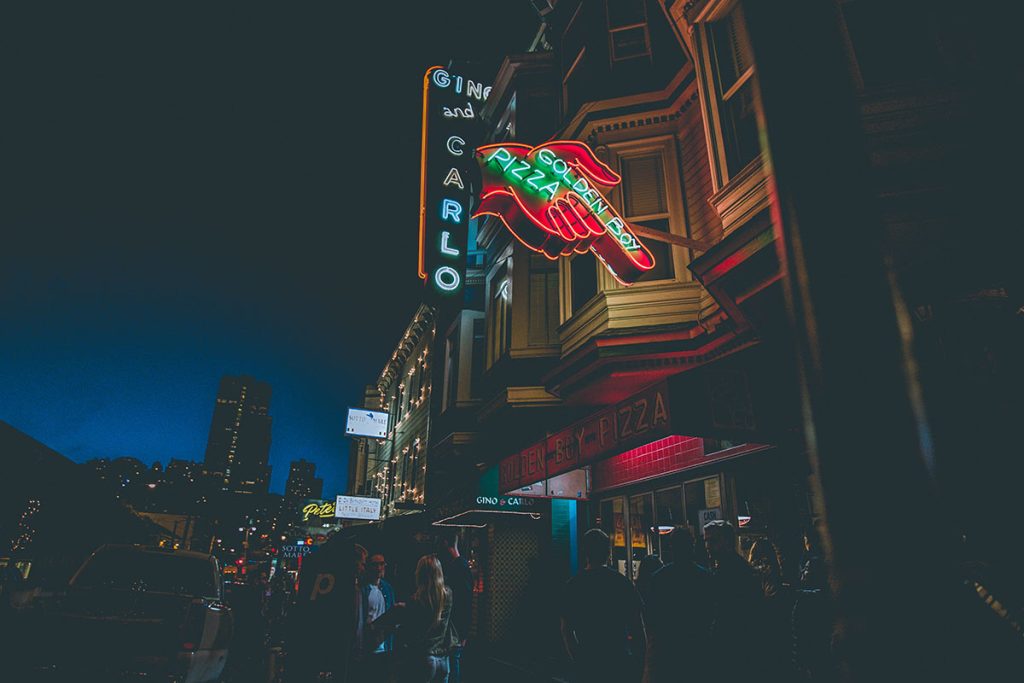
Night Photography Tips
Know Where You’re Going
This may seem like common sense, but it’s a good idea to scope out an area during the day to help understand what you’re trying to capture at night. Will there be adequate lighting around? Are there many people in the area at night? What makes that spot special? These are some simple questions that could help you find that perfect spot.
Bring a Friend Along
Traveling alone in the dark has always been frowned upon, especially in big cities. So why not make it an exciting adventure with a friend or another photographer you know? If you insist on going it alone then let someone close to you know where you’re going.
Seek Out the Nightlife
Some of the most interesting scenes are caught after hours when people are out and about enjoying themselves. By observing how others are interacting with one another and their surroundings you can capture and create the storytelling that you’re looking for.
Take Multiple Shots
Stick to a subject and take multiple shots. Use different angles and adjust your focal point by getting closer to the subject and stepping away for a wider image.
Embrace the Dark
Remember that you’re taking photos at night, so not every image has to be bright and colorful. Use the darkness to your advantage and allow the shadows to inspire new ideas. Find a subject, focus on minimal lighting and let the dark background encapsulate the subject matter.
Find Contrasting Lights
The sun produces the natural light that we rely on for daytime photography. At night you have dozens of different man-made lights that you can use in your images. Say you see one store with green lights, and another nearby store with blue lights, these are contrasting colors that you can use for an eye-catching photo.
Get Creative
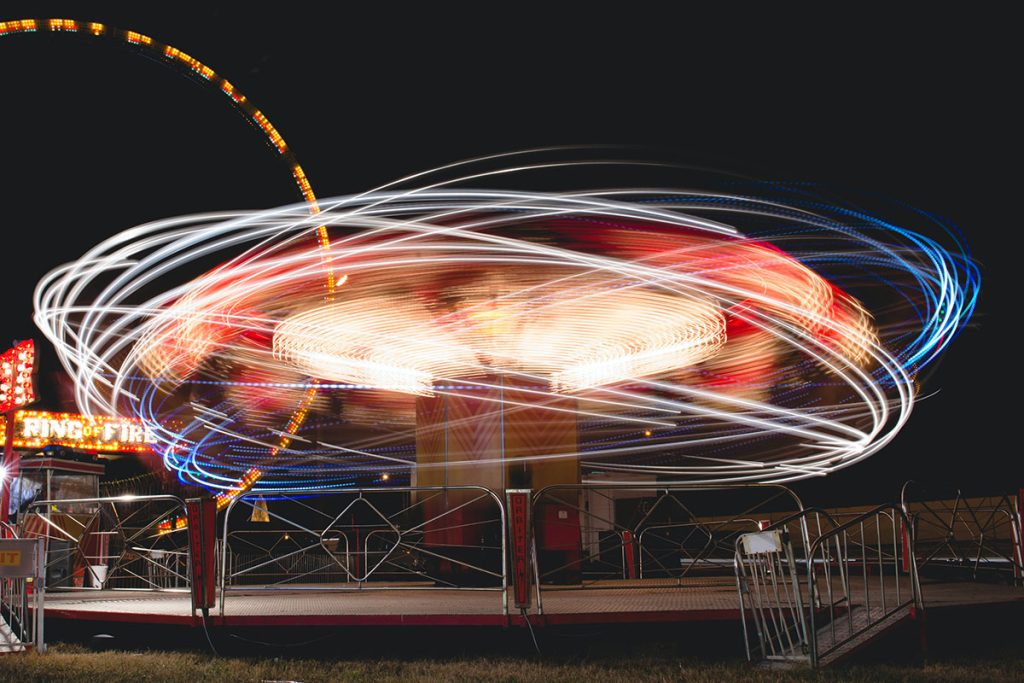
Get creative and have fun! Use the city lights, the shadows, the people, and the buildings for inspiration. Try new things, such as light painting.
Night Photography Equipment
Depending on what your objective is as an urban photographer you may want to consider bringing along a few items to capture your nighttime images.
Tripod
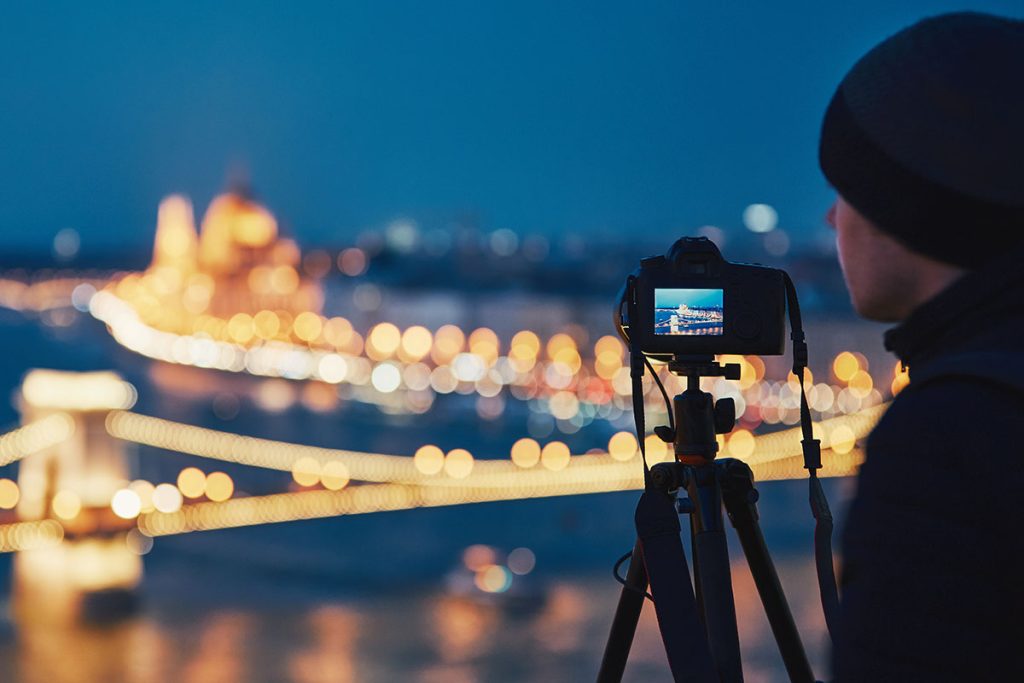
A tripod can be used in situations when you are wanting to create a completely still image. It’s perfect for capturing a busy scene with lots of people and motion. Set it up on a bridge over a busy highway at night and you can create some amazing light-filled photos.
Batteries
Carrying extra batteries will allow you to travel stress-free without the worry of your camera dying.
Flashlight
A flashlight will not only help you see in dark places but allow you to create some awesome light drawings.
Remote Trigger
A remote trigger is incredibly helpful when using a tripod so you don’t have to touch the camera to take a photo.
Wide Angle Lens
An ultra-wide angle lens helps your camera stretch out an image and capture a larger scene.
Adventure into the Darkness
Urban nightlife photography can be interesting and exciting. There are so many different avenues (literally and metaphorically) that shed light on areas you may have never noticed while the sun was out. Getting beautiful street photos at night isn’t always easy, but with these tips and practice, you’ll be capturing some amazing images. Remember to explore with caution, care, and consideration while wandering around in the dark. But most importantly, never stop being fascinated with discovering new photography techniques.
Featured image by: Ortizers.
FAQs
What equipment do I need for urban night photography?
A tripod, a fast lens (f/2.8 or wider), and a camera with manual settings are essential.
How can I control exposure in low light?
Use a low ISO, longer shutter speed, and wide aperture to balance exposure.
What are the best settings for capturing city lights?
Start with ISO 100-400, aperture around f/8, and adjust shutter speed accordingly.
How do I avoid lens flares in urban night shots?
Use a lens hood and avoid shooting directly into bright lights.
What's the ideal time for urban night photography?
The "blue hour" just after sunset offers a great balance of natural and artificial light.


