- Step 1: Find a Location
- Step 2: Create a Tinder Bed
- Step 3: Gather the Kindling
- Step 4: Collect the Firewood
- Step 5: Start the Fire
- Structure Types
- The Teepee
- The Log Cabin
- The Lean-To
- No Lighter? No Problem
- Cooking Over an Open Fire
- Building a Fire in Wet Conditions
- Fire Safety
- Check the Weather
- Keep Your Distance
- Extinguish Your Fire
- Build Your Campfire with Confidence
How To Build A Campfire: A Step-By-Step Guide
Table of Contents [Show]
Building a fire is one of the most rewarding tasks somebody can do for themselves. Campfires provide warmth, light, protection, meal preparation, and a relaxing ambiance. Yet, in survival situations when a fire is needed, it can be incredibly stressful if you don’t know what you’re doing. Knowing how to build a campfire is a valuable skill that every outdoor lover should acquire. There are a few tools you’ll need and a variety of building techniques to choose from, but once you’ve got the basics down, you’ll be set. Here’s a step-by-step guide to building a campfire:
Step 1: Find a Location
The first step is to set up a safe location to start your fire. Always make your base at least 10 feet away from anything flammable, like a tent or low-hanging branches. Choose a solid, flat surface and create a ring of large rocks to help contain the fire. If there’s any grass or plant material, be sure to remove it so you have a circular dirt patch. Always use pre-existing fire beds before creating a new one.
Step 2: Create a Tinder Bed
Create a tinder bed by adding flammable materials to the center of your fire ring. The tinder you gather is going to be the building block of your fire. Perfect tinder includes materials that will burn easily.
Some great tinder that you could bring with you on your travels include:
- Cardboard
- Newspaper
- Dryer lint
- Cotton balls coated in wax or petroleum jelly
- Hemp chord coated in wax
- Paracord
Natural materials found in the forest you could use for tinder include:
- Dry crumpled leaves
- Dry pine needles
- Cedar, Juniper, or Birch bark shavings
- Dry moss, like Old Man’s Beard
Step 3: Gather the Kindling
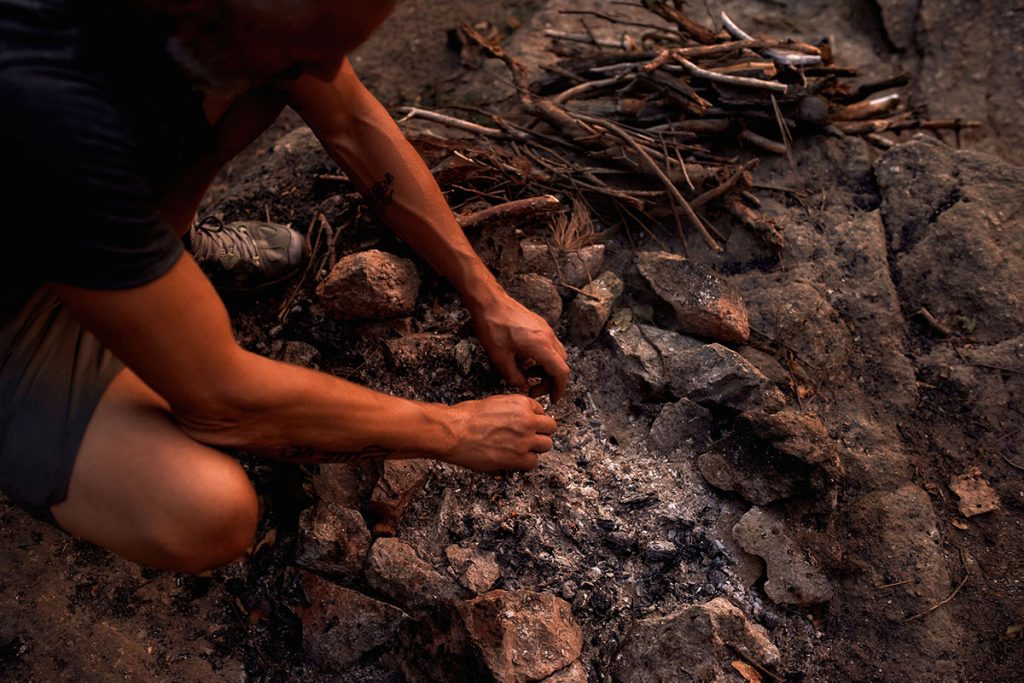
The kindling is what will help your tinder nest grow into a decent-sized flame. Kindling may consist of small branches and twigs that you’ll find lying on the ground. This type of material will burn through rather quickly, so it’s important to have larger branches and logs near you before igniting the tinder. It’s also crucial to space out your kindling over the tinder so there is “breathing room.” Your fire will start much more quickly if you allow oxygen to flow in.
Step 4: Collect the Firewood
Now it’s time to collect all the wood that is going to sustain your fire. You’ll want to use medium-sized branches to build the beginning structure, and then you can add larger logs once you have a solid fire going. Using tools such as an ax, hatchet, or hand saw will help you create sizable pieces of wood that fit nicely into the fire ring.
Step 5: Start the Fire
Once you have the tinder in a small nest, a few small branches for kindling on top, and the larger pieces of wood for fuel nearby, you’re ready to start the fire.
- Using a lighter, match, mirror, or any other unique method, set fire to your kindle. As a flame appears, gently blow some air into the tinder to further ignite the flame.
- Once a few of the twigs from the kindling catch fire you can slowly feed more small twigs on top. When you notice that the fire is growing stronger, start to add a few medium-sized branches on top.
- Start building your structure however you’d like, making sure you don’t suffocate the fire by throwing too many pieces of wood on it. Always leave pockets for the air to flow through which will help your fire grow.
- Add more wood when needed, and use a long branch as your “fire staff” to rearrange the structure once it’s burned through.
Structure Types
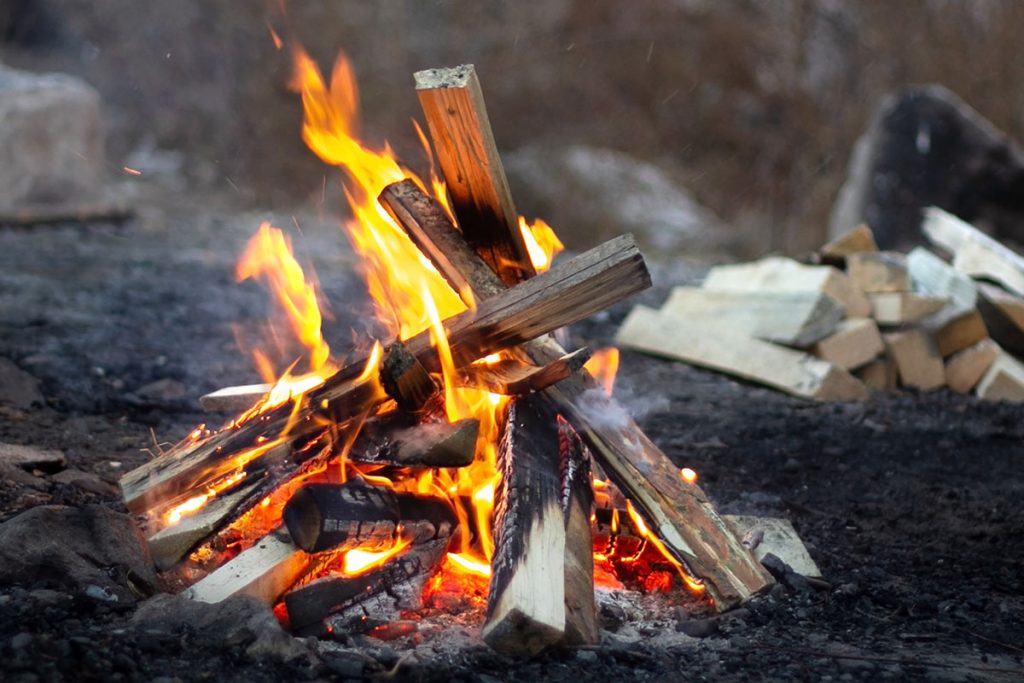
Your fire’s structure type is how you arrange the wood before you strike the match. Certain methods will add some benefits to your experience, but as long as you have plenty of tinder and wood, and you leave enough pockets for airflow, any method you choose will work. Here are a few classic structures to try out on your next camping trip:
The Teepee
This method is one that most people know and is rather self-explanatory. Take your medium-sized pieces of wood and place them vertically around your tinder so that they lean up against one another to form the shape of a teepee. The most important part is to leave enough space between each log so that the air can flow through to the tinder. This is an ideal structure when the wind isn’t too strong.
The Log Cabin
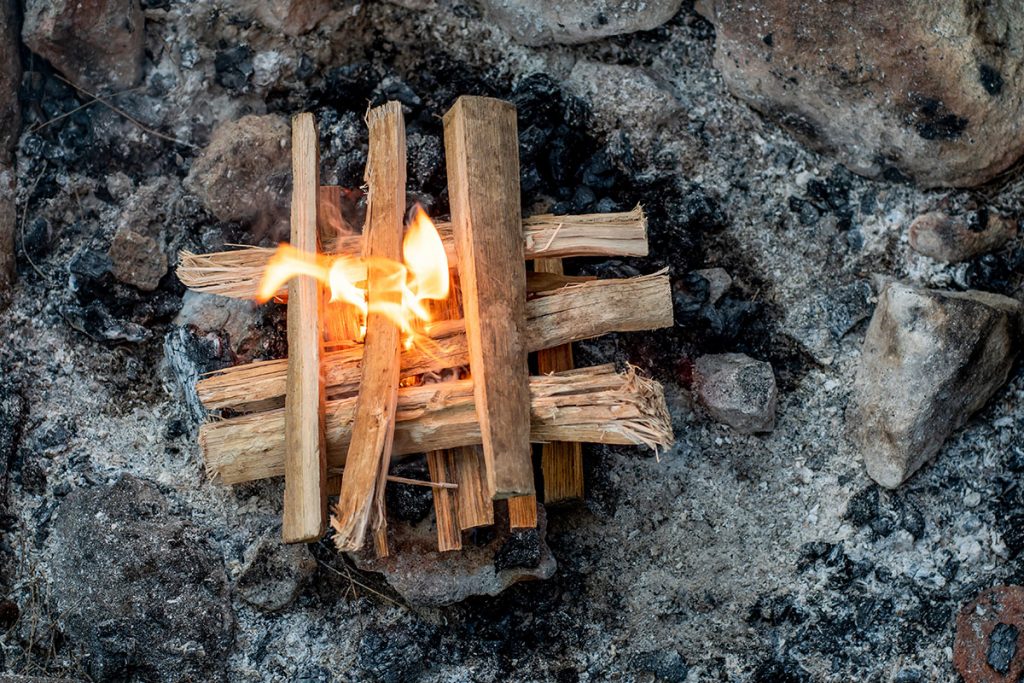
This is a simple, yet sturdy structure. Begin by placing two logs on either side of your tinder, then stack two more on top of the first two, creating a square. Keep adding logs as if you were building a log cabin. This is a nice structure to use when wanting to cook over a fire.
The Lean-To
This is a great structure to use when the winds are strong. You’ll want to find a large log to place perpendicular to the wind’s direction, then place all the kindling branches behind the log to use it as shelter from the wind. Lean all the wood you need to start the fire against the log and over the kindling, leaving enough space for air to flow.
No Lighter? No Problem
The most important part of starting a fire is what you’ll use to light it. By far the easiest way is using a lighter, but there are plenty of other methods you can use if you don’t have a lighter available. It’s a good idea to always keep at least one of these items in a “survival pack” along with a big ball of tinder, so you’ll be set in any situation.
- Waterproof matches
- Flint and steel
- Glass lens or mirror (reflects the sun's rays)
- Bow drill (difficult but incredibly useful to know)
Cooking Over an Open Fire
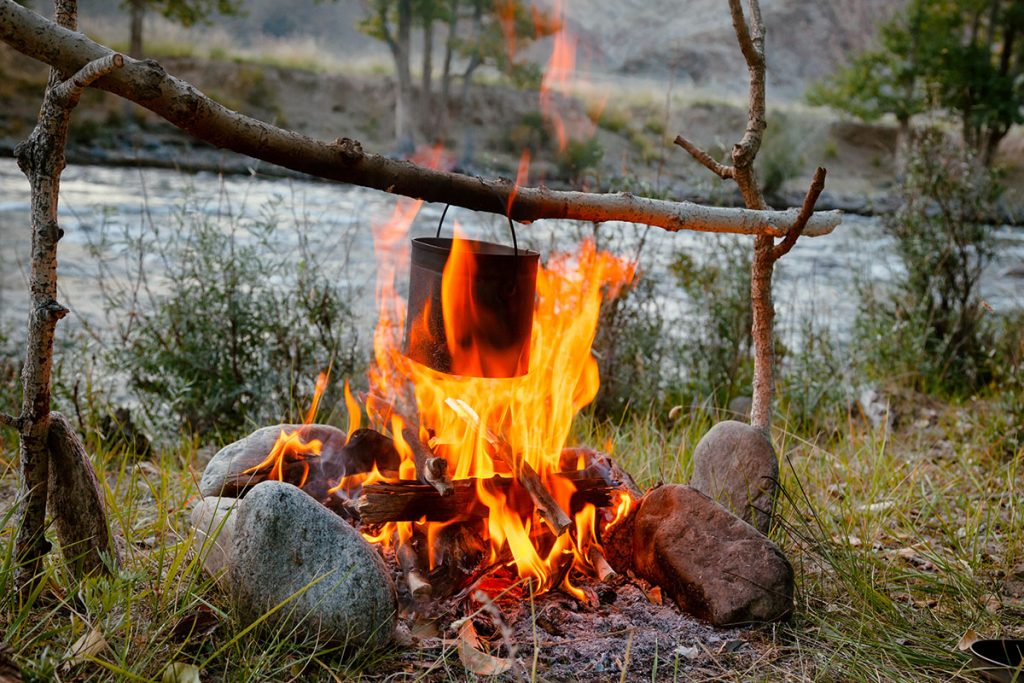
Cooking over the campfire is a primal and satisfying feeling. You have all your ingredients ready, you bring your pan with you, the fire is roaring and your belly is ready for some good food. One of the most convenient ways of cooking over a fire is by using a small grill to balance over the fire ring or placed on top of your log cabin structure.
There are also ways to cook your food if you don’t happen to have a grill nearby. Once you’ve let the fire burn for a while the coals will be hot enough to help you out. Using your “fire staff” or a shovel, simply shift the hot coals to one corner of your fire pit and make yourself a little cooking station. You can easily cook food, or heat up water by placing a pan over the hot coals.
If you don’t have a pan or a grill, don’t worry! Aluminum foil makes for a great cooking vessel for cut-up meat, fish, and veggies. Just create a pouch, fill it, seal it up and place it over the coals. There are also many amazing foods with their own protective skins that you can place directly on top of a coal bed. Food like garlic, onions, eggplant, corn in the husk, squash, sweet potatoes, and plantains can all be cooked with their skins on.
Building a Fire in Wet Conditions
Trying to start a fire in wet conditions can be rather difficult, but it can still be done with some extra work. This is where your survival pack comes in handy. Bringing your own tinder-like cotton balls dipped in wax or a piece of cardboard will be a tremendous help in wet conditions. Here are some other tips for building a campfire in the rain:
- Bring a tarp to set up over the location for your fire.
- When searching for kindling, look for needle-bearing trees such as pines, firs, and spruce. You can find a sticky sap on these trees that is very flammable, along with dead branches underneath the canopy.
- For all the other wood you’re looking to burn, split the branches or logs using an ax or saw so you can burn the dry wood on the inside.
- Using a teepee or the lean-to structure works best in wet conditions as it allows the heat from the kindling to rise and dry out the damp wood.
Fire Safety
The most important step to starting your campfire is to follow specific fire safety guidelines. There are many locations that will require you to have a permit for any source of open flame, including a camping stove. There will also be times when certain locations outright prohibit any use of fire. Be sure to always follow up on any fire regulations wherever you go. Other fire safety guidelines to keep in mind include:
Check the Weather
If it is really dry or very windy, reconsider building your campfire. Dry leaves and scrub can easily ignite and strong winds will blow sparks and quickly spread the fire, allowing it to get out of control.
Keep Your Distance
Sitting around a roaring fire is the quintessential camping experience. Just make sure you aren’t sitting too close, and there is no risk of tripping or falling into the fire. It is recommended that you place chairs or benches at least 30 inches from the flames. And never leave your campfire unattended.
Extinguish Your Fire
As important as it is to know how to properly build a fire, it’s just as important to know how to put it out. Never leave your campsite until you are confident your campfire is extinguished.
- Allow the fire to burn down to the coals and spread coals out.
- Douse coals with water, sand, or dirt.
- Stir the ash and remaining embers.
- Douse a second time with water, sand or dirt.
- Repeat until the fire is cold and you don’t see any burning embers or sparks.
Build Your Campfire with Confidence
Building a campfire provides so much more than a place to keep you warm. A fire can provide a hot meal, a source of light, and space to gather. The skill of building a fire will allow you to enhance your camping experience immensely. It’s always a good idea to keep a pack with you that has essentials like tinder, a lighter, and a hatchet so you can get a fire started with ease. It’s also recommended that you carry a fire blanket and burn cream in your camping essentials, as well. So, grab the marshmallows and enjoy the warmth of your very own campfire.
Featured image by: Gary Sandoz.

