- 1. Keep Your Camera Protected
- 2. Capture Snow in its Different Forms
- 3. Adjust the Shutter Speed
- 4. Check the White Balance
- 5. Adjust the Exposure
- 6. Use the Histogram
- 7. Shoot in RAW
- 8. Experiment with Metering
- 9. Go on a Cloudy Day
- 10. Capture Composition and Contrast
- 11. Invest in Equipment
- 12. Wear Warm Gear
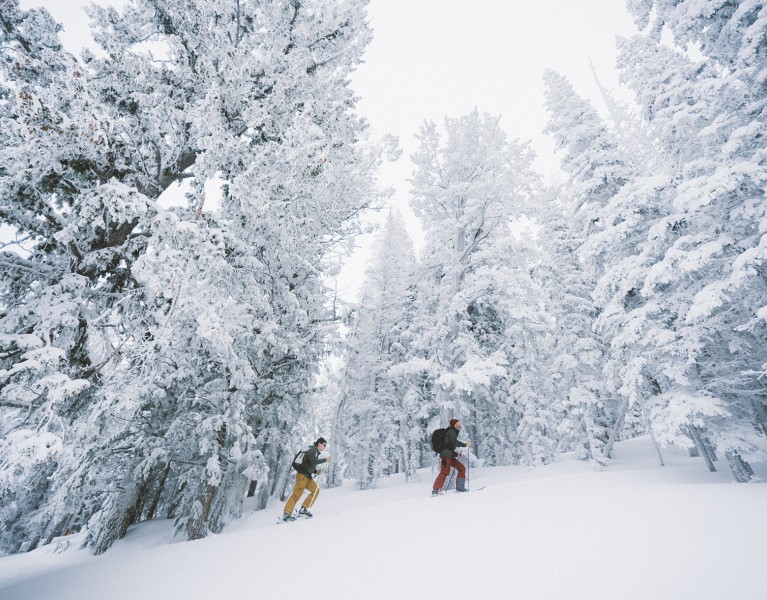
Snow Photography: 12 Tips & Ideas for Taking Better Photos in Snowy Landscapes
Table of Contents [Show]
Whether you live in an area of the country that sees frequent snowfall, or you're vacationing in a winter wonderland, snow possesses an undeniable magic and beauty that begs to be captured. Whether it’s blankets of undulating fresh snow sparkling in the winter sun or patches of snow dotting the bare trees, it’s amazing how frozen water can change the landscape so dramatically.
Snow photography is a great way to get outside and enjoy the magical landscape while creating art and making memories. Yes, today’s phones may work in a pinch, but if you really want to take the best snow photos, you'll need a camera and a few tips to strengthen the quality of your images. Here are 12 tips & ideas for taking better photos in snowy landscapes:
1. Keep Your Camera Protected
First and foremost, invest in a camera bag to protect your camera from the elements and unexpected accidents like slipping on ice. To prevent condensation from forming on the outside of your camera in colder weather, put your camera in a large ziploc bag before and after using it. When you're done taking photos, simply put the camera in the bag and place it somewhere safe to slowly acclimate to room temperature. Always be sure to keep the lens cap on when the camera is not in use to prevent any snow from entering the lens. Keep a microfiber cloth ready to wipe your screen or lens.
2. Capture Snow in its Different Forms
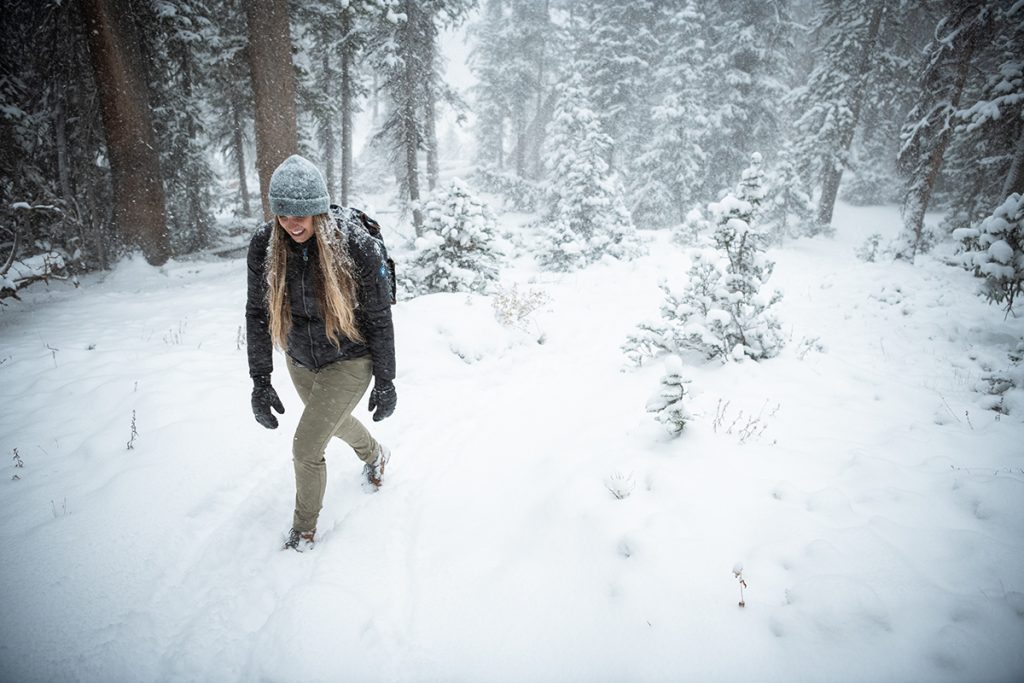
Don’t wait until the sun comes out and the snow begins to melt. Get outside when the snow is still falling or shortly after. A freshly blanketed landscape is bright and magical. If you wait a few days, you'll miss the chance for to photograph fresh snow with footprints or plow tracks. Or, capture one location on the first snowy day and go back to the same location for a unique before-and-after perspective. Capturing snow while it’s falling can create a dreamy photo, but make sure your camera is protected by placing a special rain cover over it, or use a plastic bag with a hole for your lens to fit through.
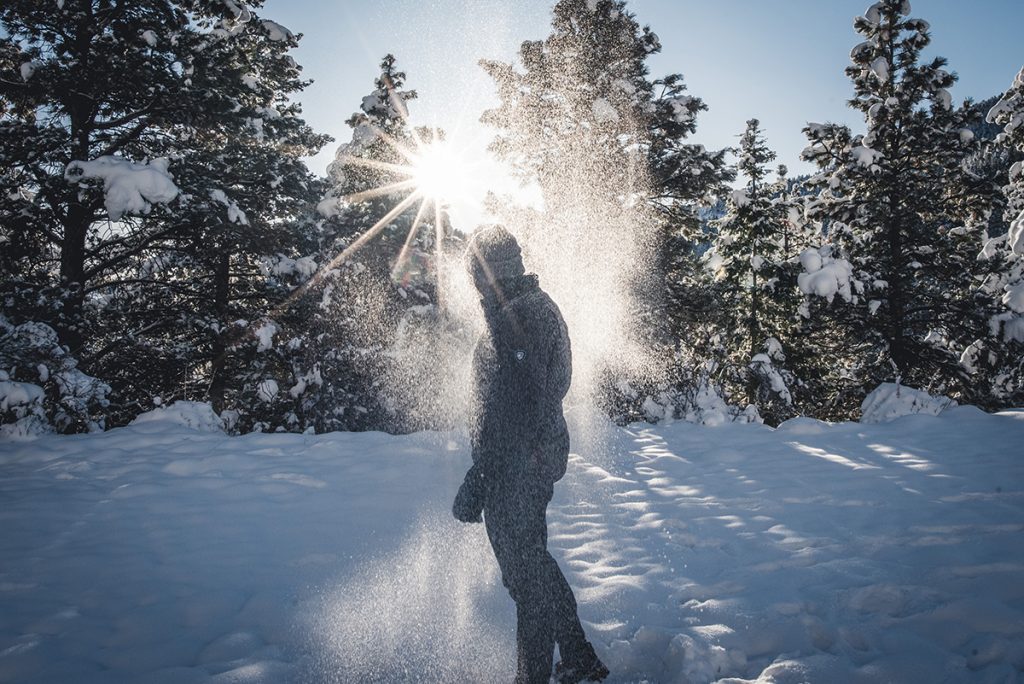
3. Adjust the Shutter Speed
Using a fast shutter speed greatly improves your chances of a clear image when trying to capture falling snow. Start with 1/250th of a second, and test out other speeds from there. If you slow down the shutter speed enough you can eliminate the appearance of the falling snow in the image. If you capture blurry streaks of snow, adjust the speed and try again.
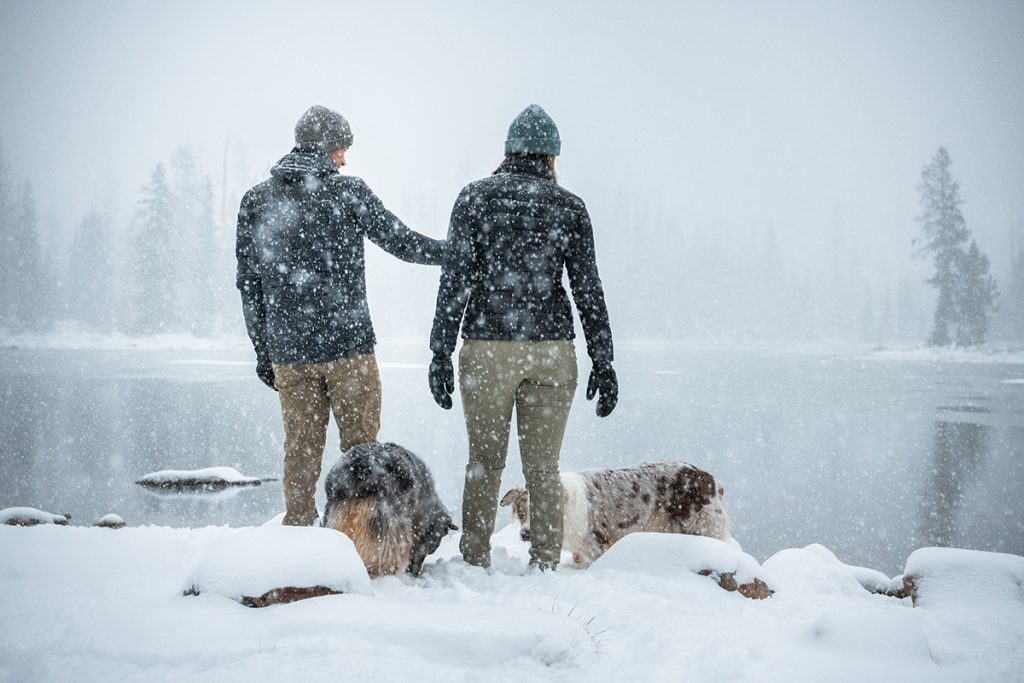
4. Check the White Balance
Snow is often depicted on the blue side of the color spectrum when using a default or automatic camera setting. Adjust the auto white balance (AWB) on your camera manually by increasing the number a few spots for a warmer photo. Or, use the snow setting on your camera to restore the bright white landscape to its original form.
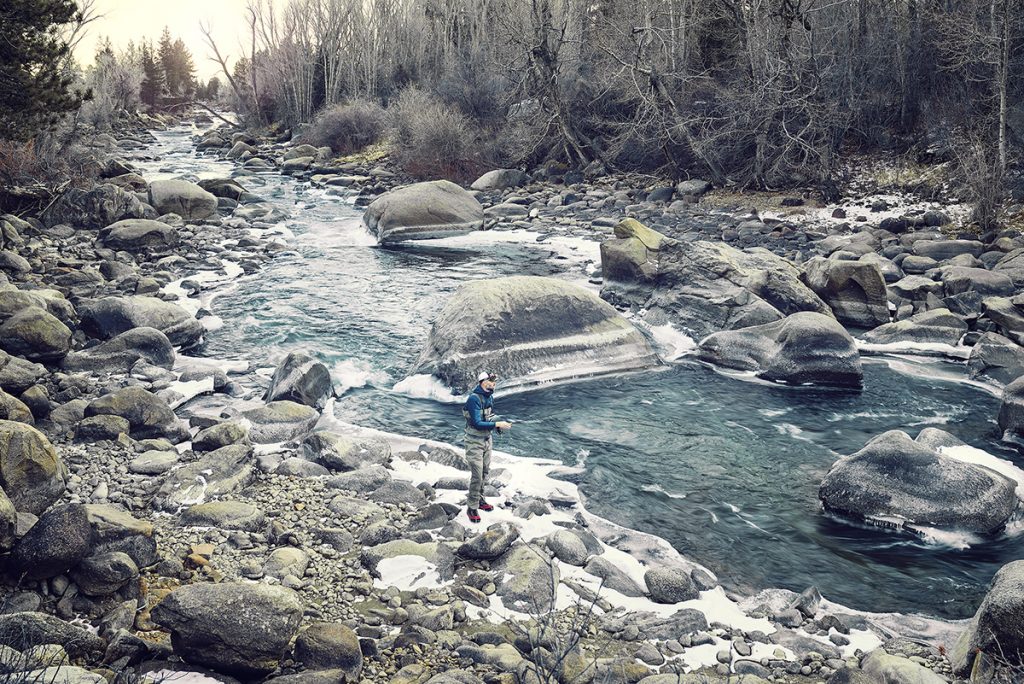
5. Adjust the Exposure
Glowing white snow may cause issues when your camera is trying to adjust. If you take a photo without changing the exposure, the image may appear too bright or full of different gray tones. Your camera is calibrated to a middle gray system, so it’s a good idea to overexpose your images to resolve any problems. Just adjust the exposure one or two dials for a nice white color that portrays the snow in all its glory.
6. Use the Histogram
There is a term in photography known as ETTR, which means Expose To The Right. This technique is used to overexpose an image so that most of the data leans to the right of the histogram. The histogram will be able to show you if your highlights are completely blown out or if they’re underexposed. Checking your histogram allows you to have confidence that your image will appear clear.
Check out more Simple Landscape Photography Tips for the Road.
7. Shoot in RAW
Shooting in the RAW format allows room for more creativity when you want to edit your photos afterwards. JPEG files are compressed and restrict your ability to alter images to your liking when in the editing process.
8. Experiment with Metering
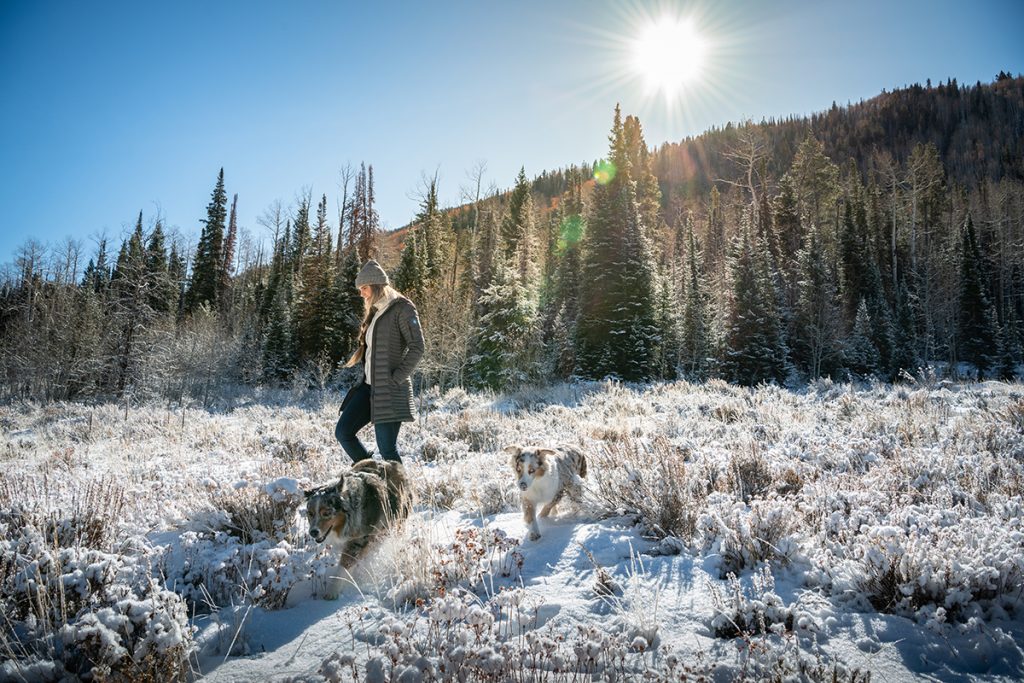
Metering is another way to adjust the lighting in your scenes. Matrix Metering (Nikon) or Evaluative Metering (Canon) will give you the freedom to get the exact exposure you’re looking for. Spot Metering is a great setting to use on really sunny days when rays are reflecting off the snow.
9. Go on a Cloudy Day
If you’ve already tried, you know it can be tricky to find the correct exposure when photographing bright white snow, especially on a sunny day. If you get out during a cloudy day, it will make the process much smoother. You’ll still have to make some adjustments with your camera's settings, but it will be a much easier photo shoot.
10. Capture Composition and Contrast
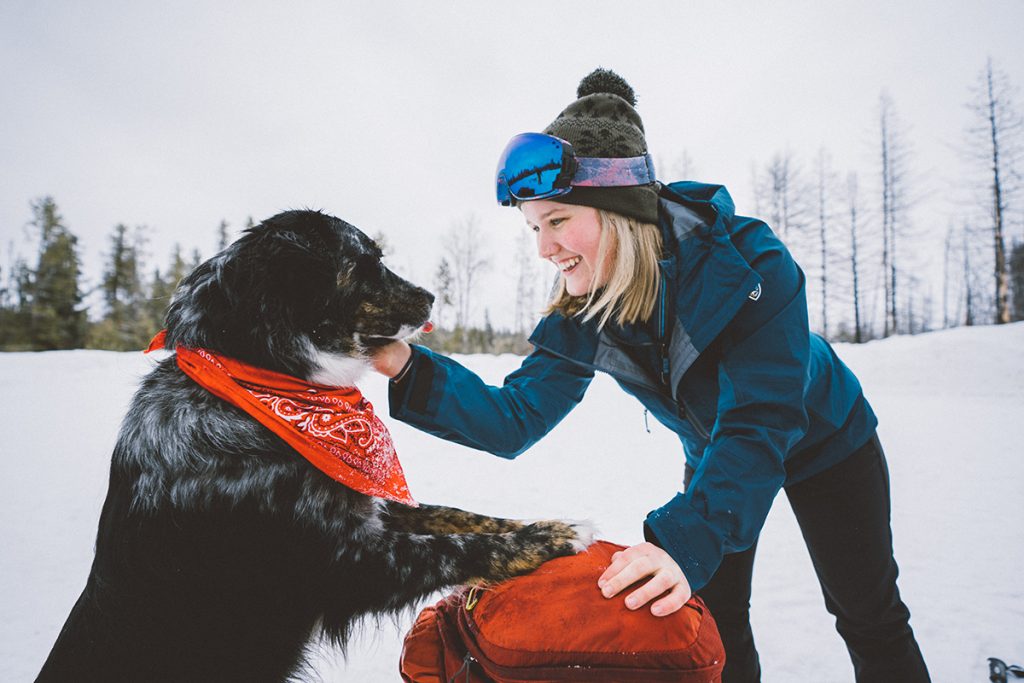
Use the snow to your advantage as a beautiful backdrop for something that has a bright and vivid color. Reds, oranges and yellows really pop against the white snow. Capturing someone in a bright-colored scarf or an image of a cardinal against the snow can create a stunning work of art. On the contrary, you could try experimenting with a black & white filter for a clear and pristine representation of a snow-filled landscape.
11. Invest in Equipment
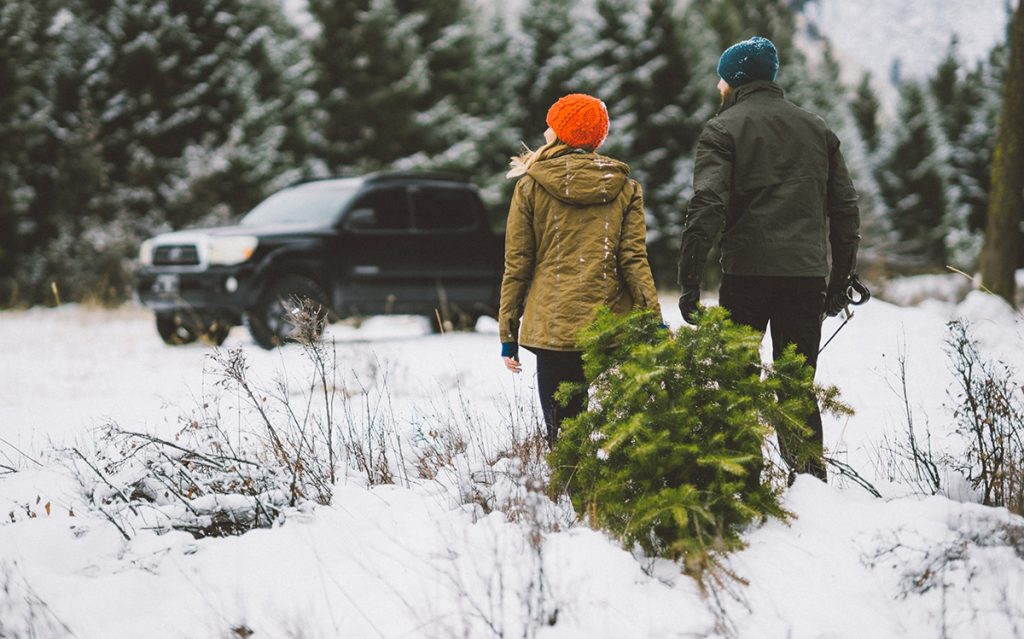
Investing in photography equipment is investing in your art. Adding some of these items to your gear will help capture those special moments and enhance your pictures to the max.
- Tripods help you steady your images without having to hold the camera. These are terrific for night photography, especially in winter, when you don’t want to hold the camera in the cold. If you don’t have one, create a makeshift tripod from materials that are around you.
- Remote shutter release is another handy tool when it comes to night photography. You can capture a clear night sky without having to touch the camera. This gives you the opportunity to be in your own photos. There’s a lot of fun to be had with this piece of equipment, it will open new doors to your creative endeavors.
- Filters work well in many situations. A UV filter protects your lens from the elements. A polarizing filter reduces reflections and glares from the snow and creates a dark blue sky on a clear day.
- Try macro photography and capture an image of a single snowflake. Using a macro lens with an extension tube will help you accomplish this.
- A wide angle lens will help you create a greater sense of depth from the foreground to background. These are amazing for landscape or nighttime photography with a clear sky covered in stars.
- Batteries will deplete quickly in the cold weather. Keeping an extra charged battery in a warm pocket is always a good idea for winter photography.
12. Wear Warm Gear
It’s going to be cold this winter, so make sure to wear warm gear when you go out on your photography adventures. A warm down jacket, winter hat, proper snow boots, snow pants, face guard and fingerless mittens will keep you warm while you snap photos. Keeping your camera safe and warm is important, but the top priority should be your warmth. Consider investing in snowshoes or spikes so you can traverse smoothly through thick patches of snow.
Check out the KÜHL Guide to Nature Photography Clothing & Gear.
Our final piece of advice is to have fun! Wintertime provides the chance to enjoy so many outdoor activities and gorgeous scenery. Winter photography may seem intimidating if you’re a beginner, but follow the tips mentioned above, and you’ll capture magical images. Lace up your boots, grab your camera and make some snow-filled memories.


